Author: admin

  • Tips for Stunning Cityscape Photography

    Tips for Stunning Cityscape Photography

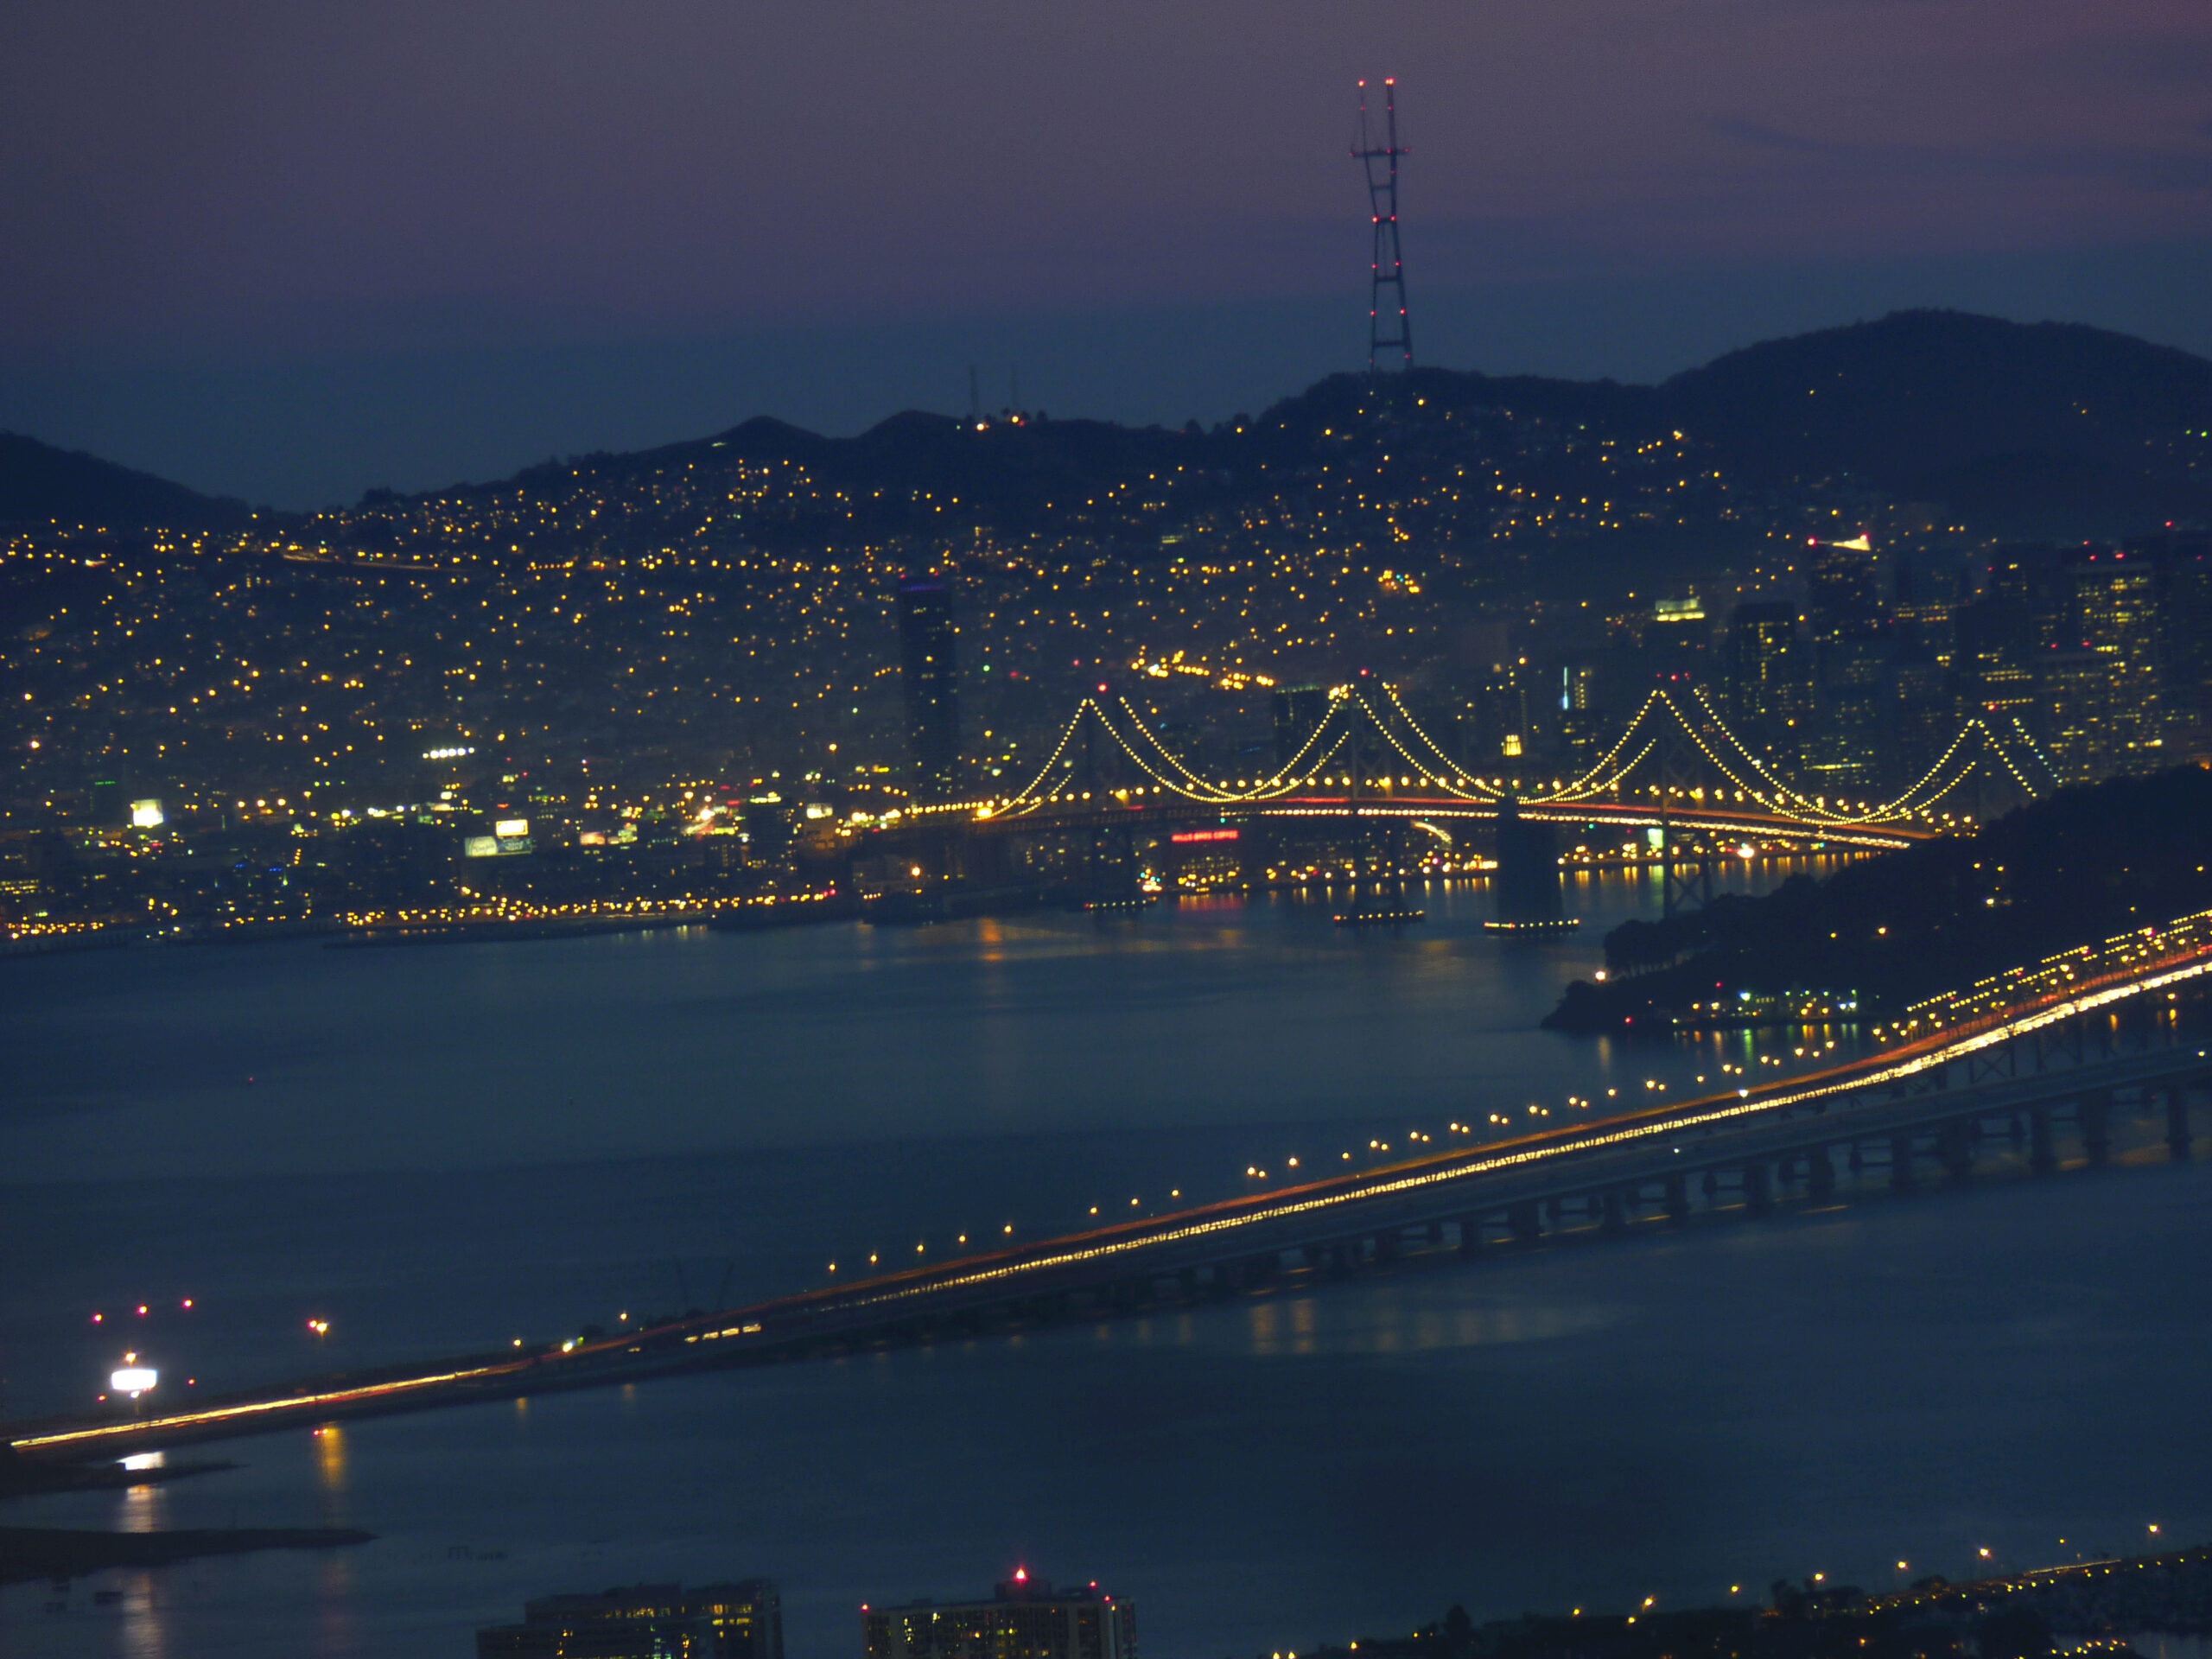
    Cityscape photography offers a unique opportunity to capture the beauty, energy, and grandeur of urban environments. From towering skyscrapers to historic landmarks bathed in city lights, there’s an endless array of subjects and compositions to explore. However, mastering cityscape photography requires a blend of technical skills and creative vision. Here are some essential tips to help you capture breathtaking cityscapes.

    1. Scout Locations and Timing

    Research and plan your shooting locations in advance. Scout potential spots during different times of the day to find the most favorable lighting conditions and angles. Golden hour, just after sunrise or before sunset, offers warm, flattering light that can add depth and dimension to your cityscapes. Alternatively, consider shooting at night when the city’s lights create a mesmerizing ambiance.

    2. Use a Tripod

    Cityscapes often require long exposures, especially in low-light conditions or when using smaller apertures for greater depth of field. A sturdy tripod is crucial for keeping your camera steady and preventing blurry shots. It also allows you to experiment with longer shutter speeds to capture light trails from moving vehicles or to smooth out water surfaces.

    3. Play with Perspective

    Experiment with different perspectives and angles to create unique and compelling compositions. Try shooting from a high vantage point to capture a bird’s-eye view of the cityscape, or get down low for a dramatic, ground-level perspective that emphasizes the towering structures. Look for interesting leading lines, such as roads, bridges, or architectural elements, to guide the viewer’s eye through the frame.

    4. Incorporate Foreground Elements

    While cityscapes often focus on the skyline, incorporating interesting foreground elements can add depth and visual interest to your shots. Look for reflective surfaces, like puddles or glass facades, that can mirror the cityscape and create intriguing abstract compositions. Strategically placing people or objects in the foreground can also provide a sense of scale and context.

    5. Bracketing and HDR

    The dynamic range of urban scenes can be challenging to capture, with bright highlights and deep shadows. Consider using bracketing to take multiple exposures at different shutter speeds or apertures, which can later be blended into a high dynamic range (HDR) image. This technique can help preserve detail in both the highlights and shadows, resulting in a more balanced and detailed cityscape.

    6. Experiment with Long Exposures

    Long exposures can transform ordinary cityscapes into mesmerizing, abstract compositions. By keeping the shutter open for an extended period, you can blur the movement of clouds, vehicles, or pedestrians, creating a sense of motion and energy. Use a neutral density filter to allow longer exposures during bright daylight conditions.

    7. Embrace the Weather

    While clear skies can be desirable, don’t overlook the dramatic potential of inclement weather. Clouds can add depth and drama to your cityscapes, while fog or mist can create a moody, atmospheric look. Rain can also provide unique opportunities, with reflections on wet surfaces and the interplay of city lights and water droplets.

    Remember, cityscape photography is not just about capturing the grandeur of urban environments; it’s also about conveying a sense of emotion, energy, and storytelling. Experiment with different techniques, be patient, and most importantly, have fun exploring the endless possibilities of capturing the essence of the city.
  • Photographing the Celestial Northern Lights: A Guide

    Photographing the Celestial Northern Lights: A Guide

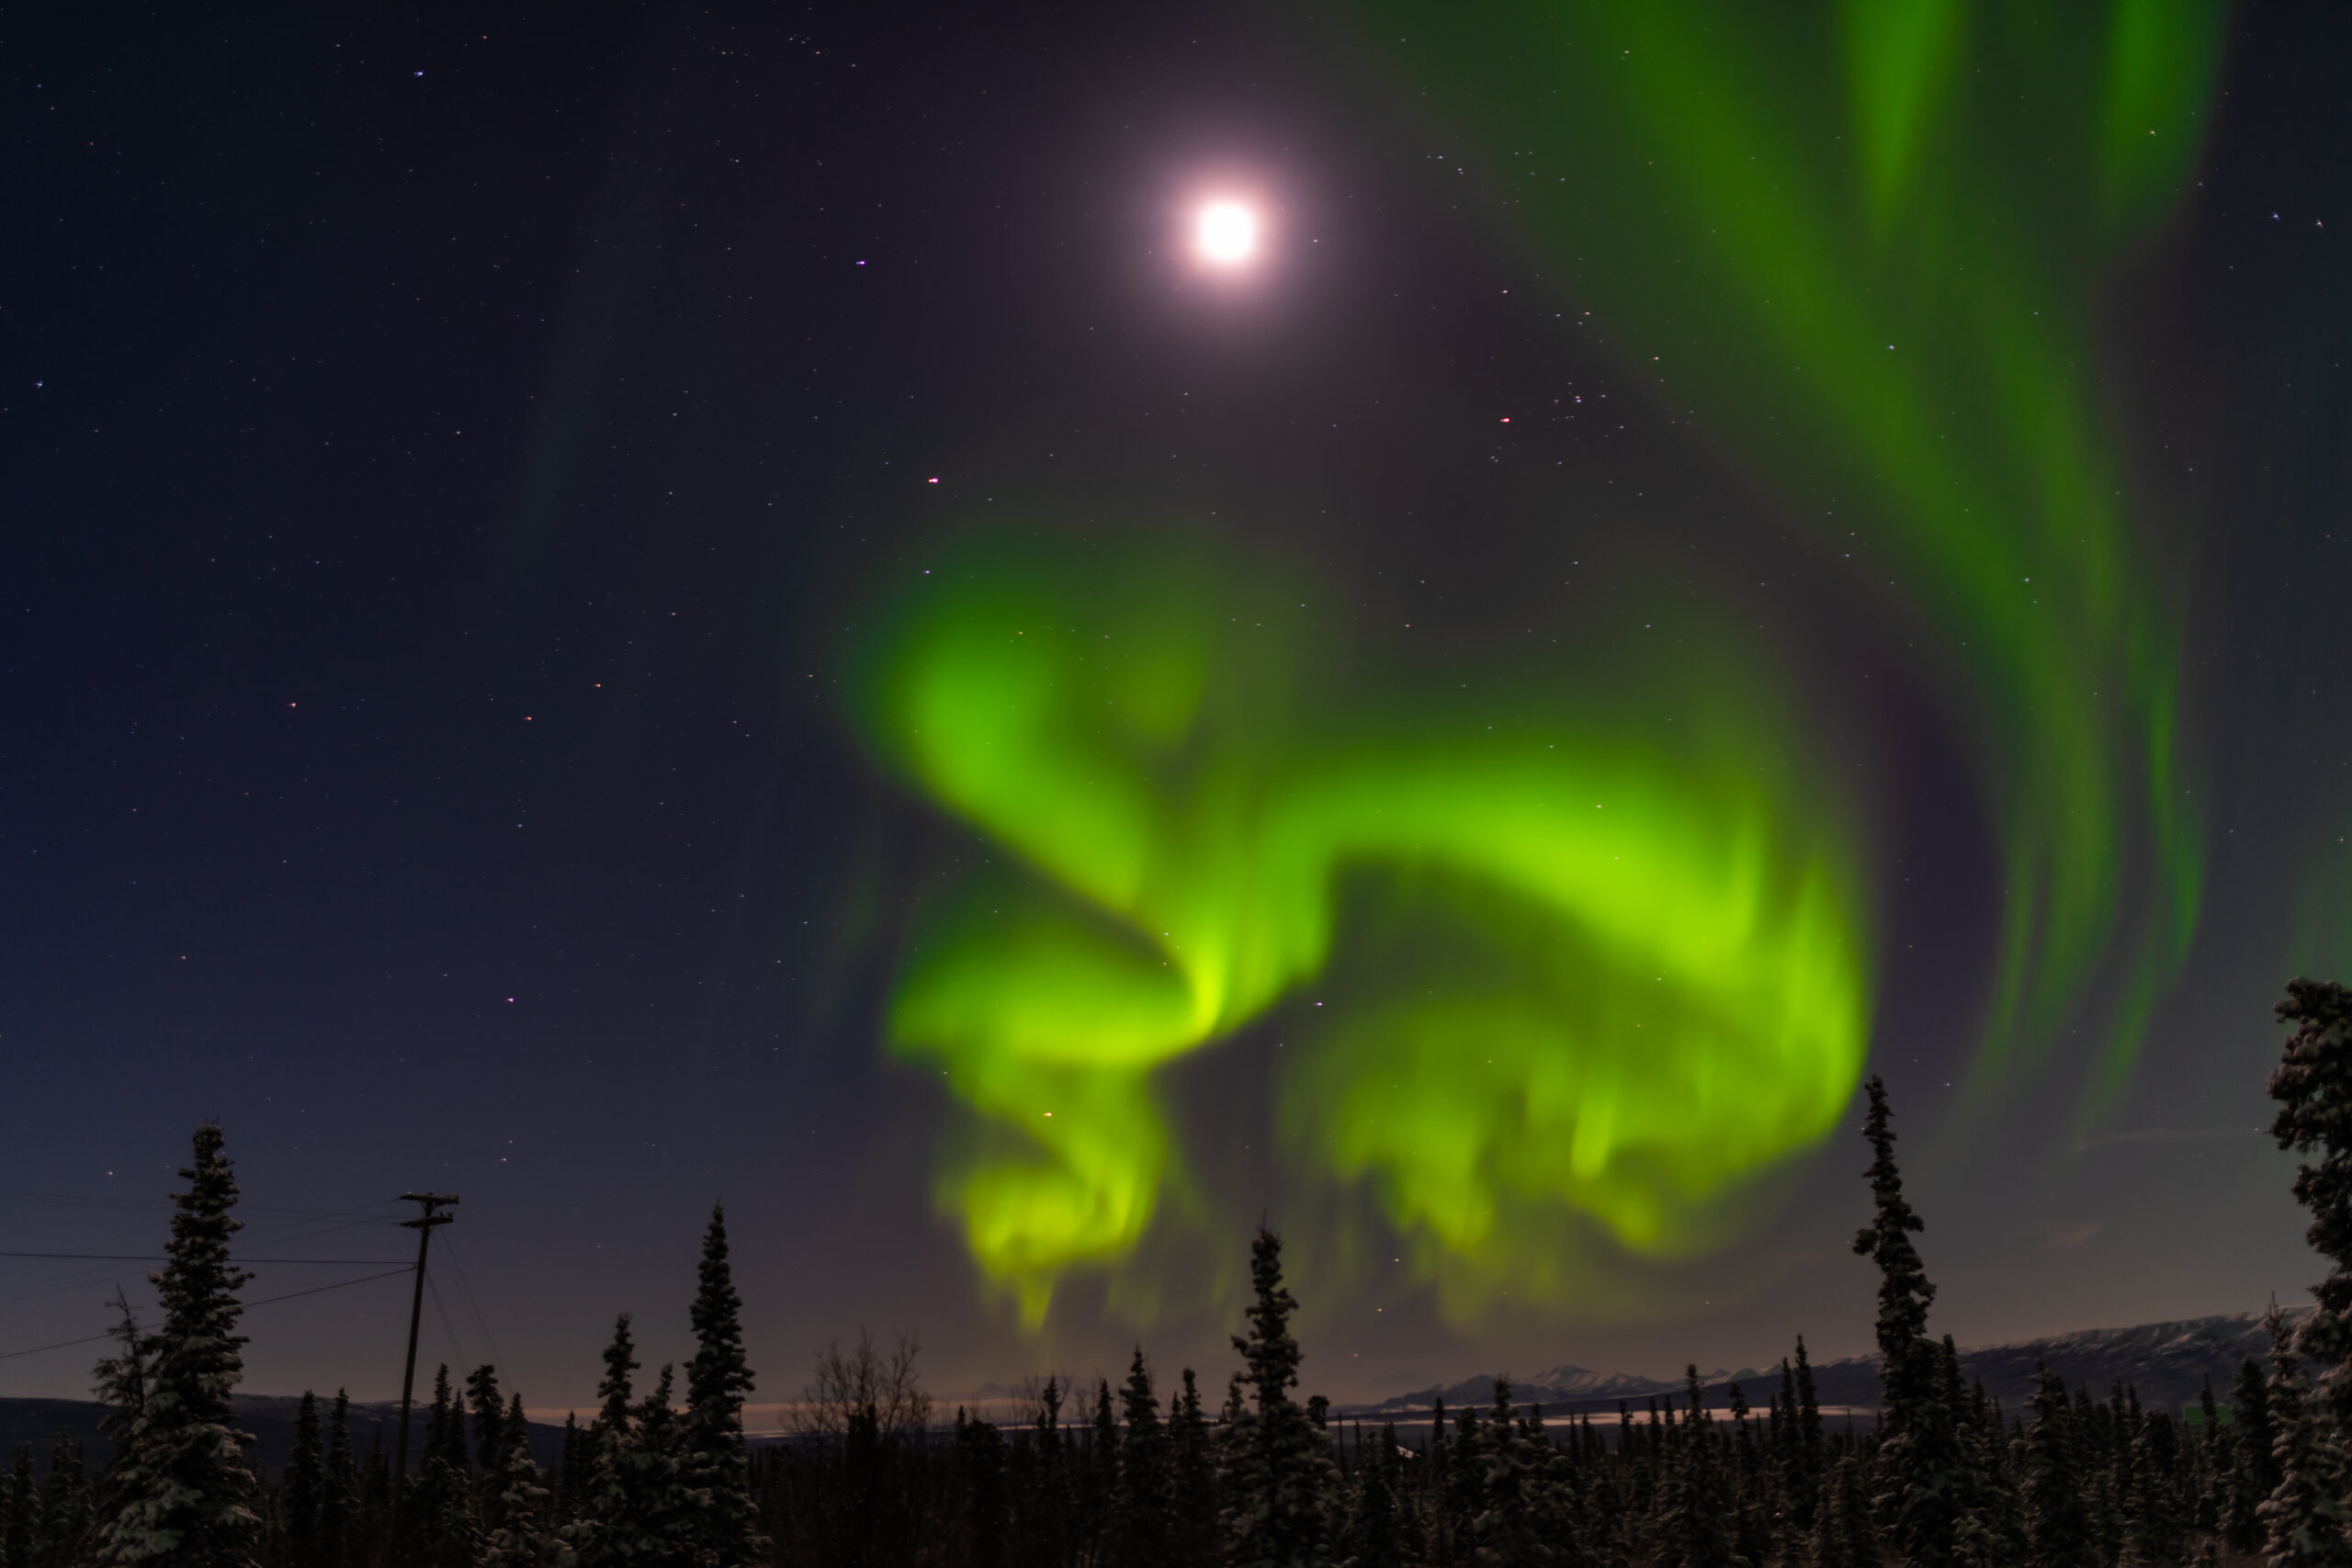
    One of the most breathtaking natural phenomena is the colorful display of auroras known as the northern lights. While witnessing the ethereal lights dance across the night sky is magical in itself, capturing this event with your camera takes some skill and preparation. If you plan on photographing the northern lights with a DSLR camera, follow these tips to help increase your chances of getting amazing shots.

    Use a Tripod

    This is a must since you’ll be taking long exposure shots in low-light conditions. Even using your camera’s stabilization or a monopod won’t be enough to prevent blurring from camera shake. Secure your DSLR to a sturdy tripod and use a remote shutter release or self-timer to eliminate any movement when taking the shot.

    Go Wide

    The northern lights can fill up a large portion of the sky, so use a wide-angle lens to capture as much of the scene as possible. Lenses with focal lengths of 14-35mm on a full-frame camera or 10-20mm on an APS-C sensor are ideal. This also allows you to include interesting foreground elements.

    Maximize Exposure Time

    To render the northern lights, you need to keep your camera’s shutter open for an extended period. Start with exposures of 10-30 seconds, and experiment from there. An intervalometer that can automatically take consecutive long exposures is very useful.

    Keep ISO Low

    While pushing the ISO high helps in low light, too high of an ISO will introduce excessive noise and grain. Start around ISO 800-1600 and only increase it if you need to.

    Use Manual Focus

    Autofocus likely won’t work well in the dark conditions. Focus manually on the sharpest bright star or distant light source you can find. This will ensure your northern lights are tack sharp.

    Check Histograms

    Review the exposure histogram after some test shots. The auroras tend to register as highlights, so make sure not to overexpose and clip those areas on the histogram.

    Include Foreground Interest

    While the northern lights are the star, including foreground elements like trees, mountains, or even people can add depth and scale. Just be aware that anything in the foreground may become blurred from the long exposures.

    Dress in Layers

    Be prepared to spend long hours outdoors in frigid temperatures waiting for the right auroral activity and clouds to clear. Dress extremely warmly in moisture-wicking base layers covered by insulating materials.

    Be Patient

    Finally, be prepared for a lot of waiting, possible disappointment, and trying again on another night. Photographing the northern lights takes incredible patience and perseverance, but capturing their incredible beauty is well worth it.

  • Capturing Stunning Sunsets: DSLR Photography Tips

    Capturing Stunning Sunsets: DSLR Photography Tips

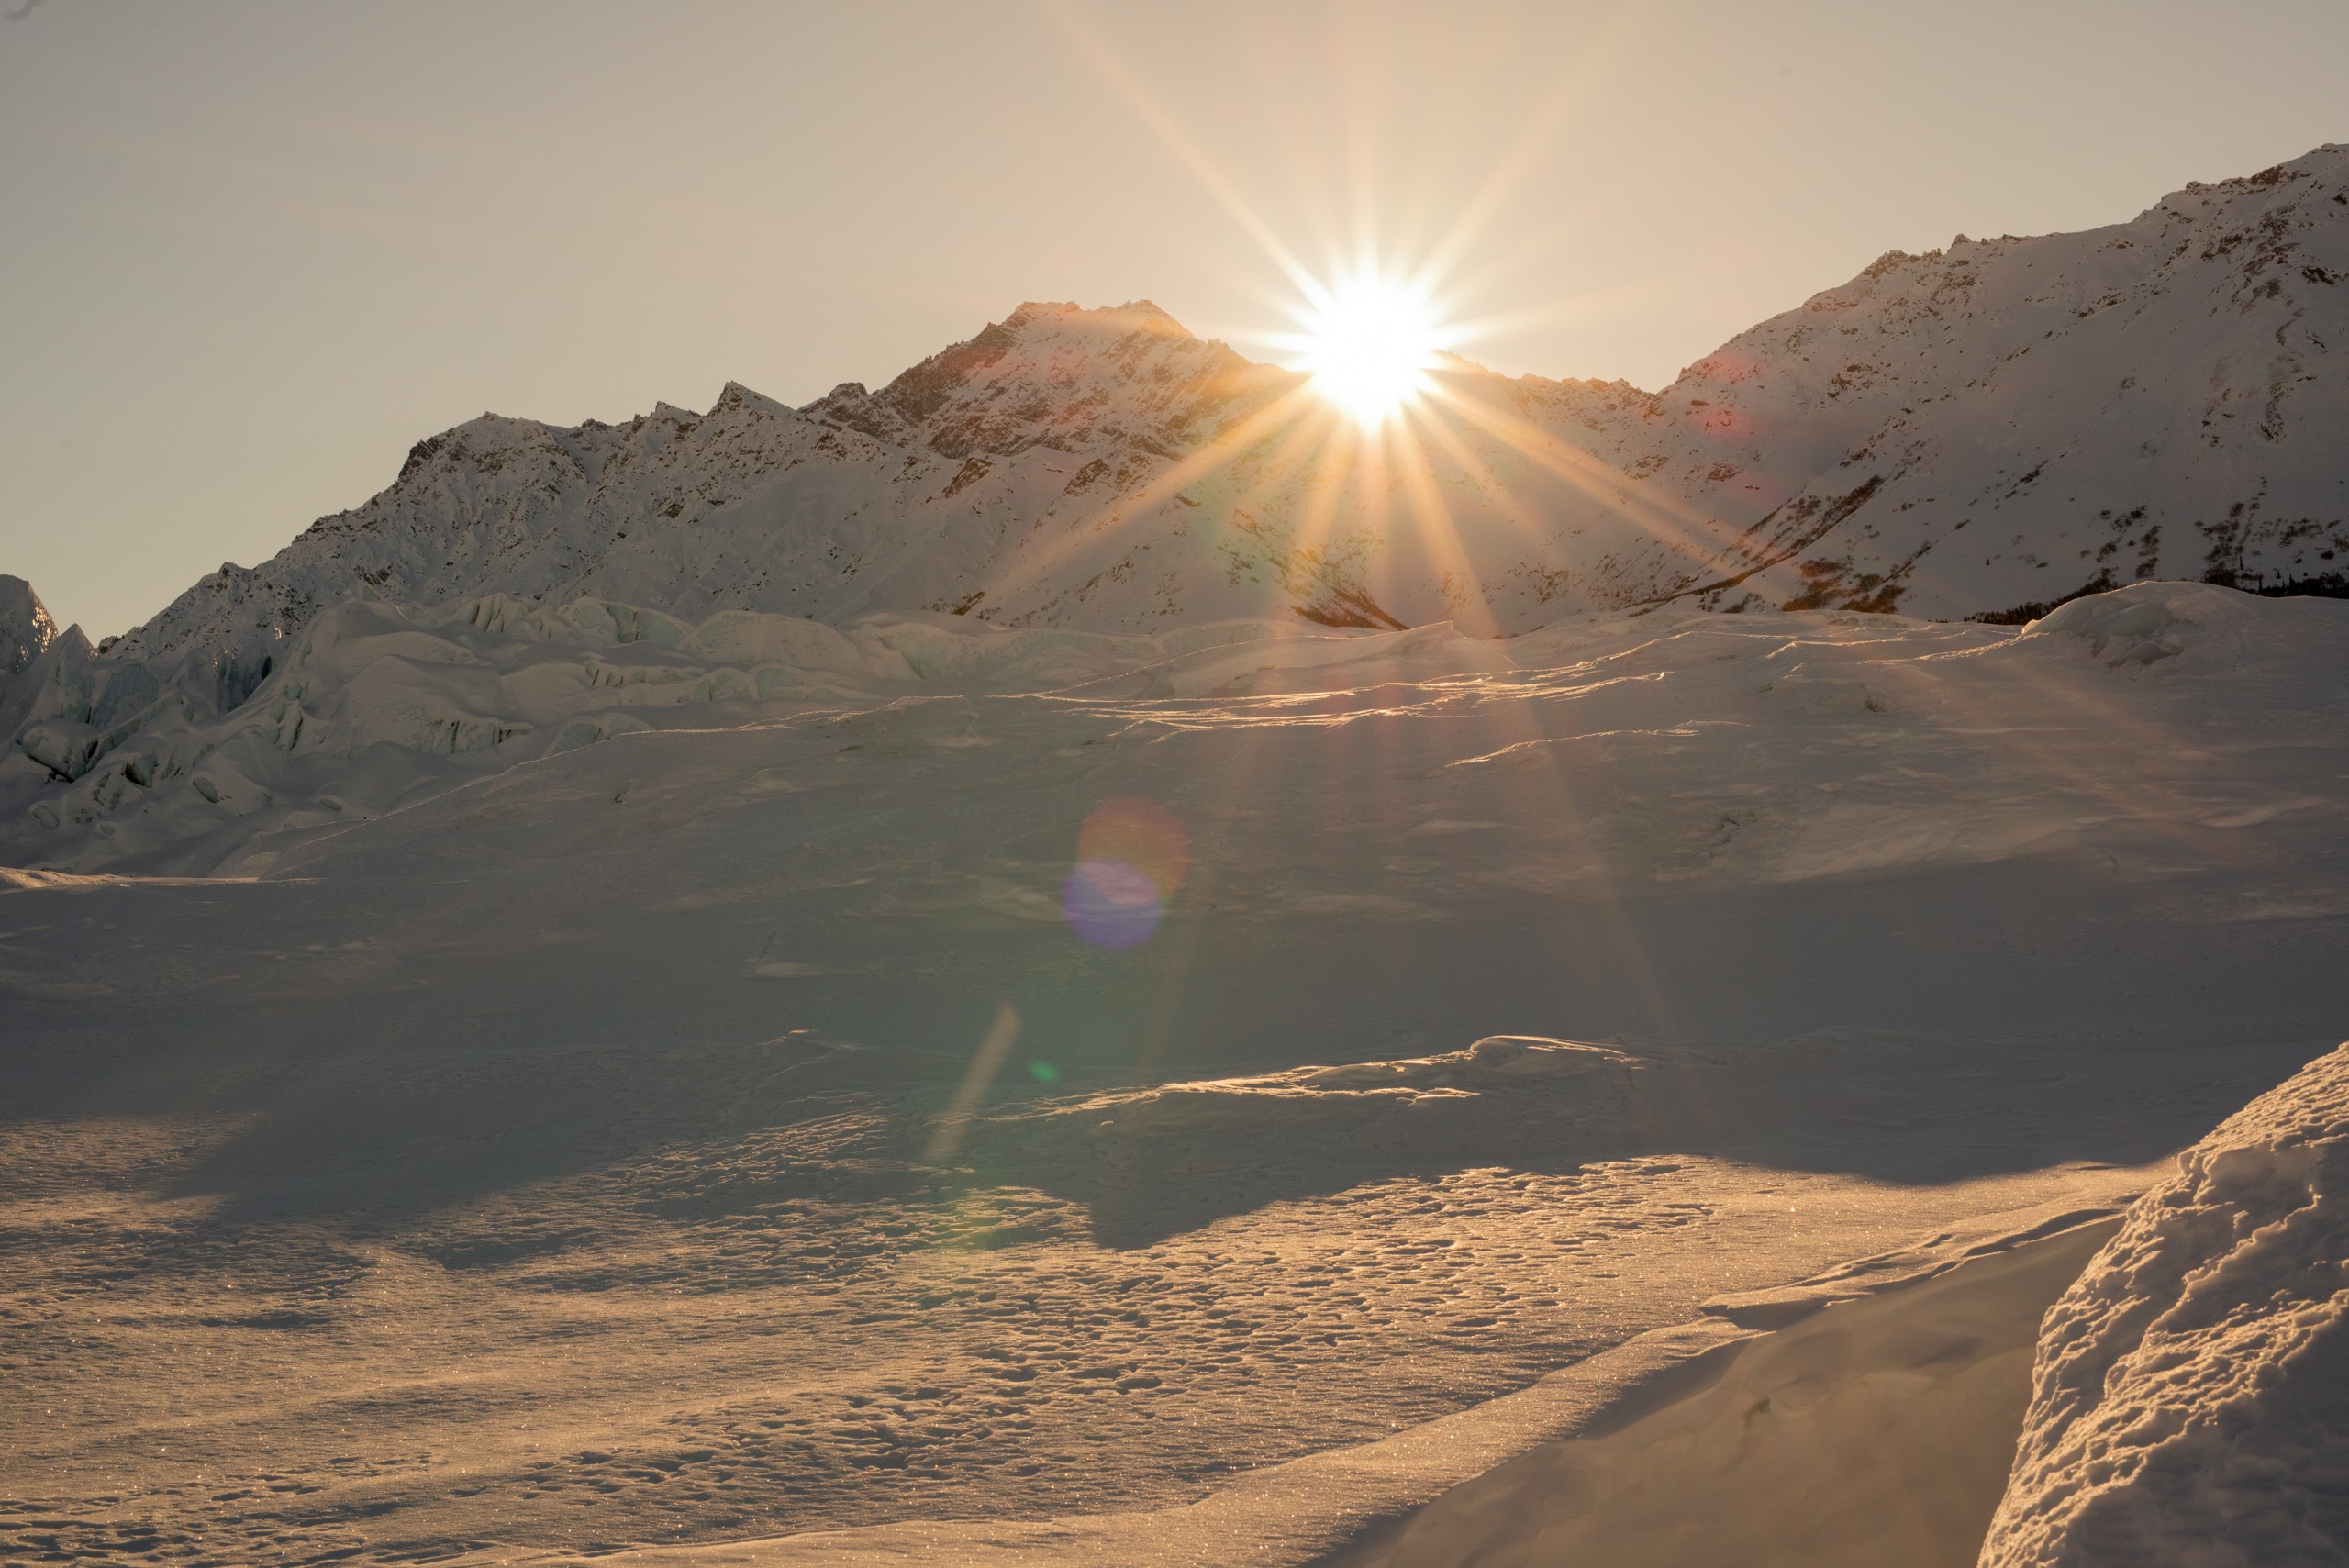
    There’s something magical about a vibrant sunset that makes it an irresistible subject for photographers. The warm hues painting the sky create a dazzling scene that can produce breathtaking images – if you know the right techniques. With a DSLR camera in hand, you have plenty of controls to get creative with sunset photography. Here are some tips to help you take your sunset shots to the next level.

    1. Pay Attention to Timing

    The sweet spot for most dramatic sunsets is usually the first 15-20 minutes after the sun dips below the horizon. Plan to arrive at your location with plenty of time to set up and compose your shot before the colors begin to pop.

    2. Scout the Location

    Do a little location scouting ahead of time to find a spot with an interesting foreground element like a silhouetted tree, rocks, a pier, or architectural detail. These foreground subjects help add depth and visual interest to the overall composition.

    3. Choose the Right Exposure Settings

    Expose for the highlights in the sky by spot metering on the brightest part of the scene. You may need to underexpose by 1-2 stops to preserve detail in the vibrant colors. Choose an aperture of f/11 or higher to keep the whole scene in focus.

    4. Use a Tripod

    As light levels drop during the sunset, you’ll need to use longer shutter speeds which increase camera shake risk. Mount your DSLR on a sturdy tripod to prevent blur from camera movement.

    5. Capture the Sequence

    Take a sequence of shots instead of just one to capture the full evolution of colors throughout the sunset. The dramatic reds and oranges often give way to vibrant pinks, purples, and blues that are equally photo-worthy.

    6. Shoot in RAW

    Shooting in your camera’s RAW file format gives you far more flexibility to adjust things like white balance, exposure, and colors in post-processing. RAW images have more data than JPEGs.

    7. Use a Polarizing Filter

    A circular polarizing filter can deepen the blue hues of the sky and cut through haze to make colors richer and more saturated. Experiment by rotating the filter as you shoot.

    8. Mind the Horizon Line

    For sunsets, it’s typically more compelling to position the horizon line on the upper or lower third of the composition rather than directly across the middle. This follows the classic “rule of thirds” for more visually-appealing framing.

    With some planning, creativity, and technical know-how, you can capture the magic of the “golden hour” and take some absolutely jaw-dropping sunset photos. So grab your DSLR and get ready to experience nature’s nightly colorful performance!

  • Mastering Night Photography with Your DSLR Camera

    Mastering Night Photography with Your DSLR Camera

    While night photography can be challenging, it can also produce some of the most stunning and dramatic images. With the right techniques and gear, you can capture incredible nighttime scenes using your DSLR camera. Here are some tips to help you get started:

    1. Use a Tripod: Shooting at night requires long exposure times, which makes it nearly impossible to get sharp images when handholding your camera. Using a sturdy tripod is essential for keeping your camera steady during those long exposures.

    2. Master the Exposure Triangle: At night, you’ll need to use slower shutter speeds, wider apertures, and higher ISOs than during the day. Mastering the exposure triangle (shutter speed, aperture, and ISO) is crucial for achieving the desired exposure and managing image noise.

    3. Utilize Low ISOs: Although you may need to push your ISO higher than during daylight shooting, try to keep it as low as possible. Higher ISOs introduce more digital noise into your images, so start with your camera’s base ISO (often 100 or 200) and only increase it as needed.

    4. Use Manual Focus: Autofocus systems can struggle in low-light conditions, so it’s often better to switch to manual focus mode. Use your camera’s live view function and zoom in to ensure accurate focus on your subject.

    5. Enable Mirror Lockup: When using a tripod, enable your camera’s mirror lockup feature (if available) to minimize vibrations caused by the mirror slapping up and down during the exposure.

    6. Experiment with Light Painting: Light painting is a creative technique where you use a handheld light source (like a flashlight or glow stick) to selectively illuminate parts of your scene during a long exposure. This can add interesting details and drama to your night shots.

    7. Embrace Noise Reduction: While you should try to minimize noise in-camera, some noise is inevitable when shooting at night. Use your camera’s built-in noise reduction features or post-processing software like Adobe Lightroom to reduce the appearance of noise in your images.

    8. Shoot in RAW: Shooting in RAW format gives you much more flexibility for adjusting exposure, white balance, and other settings during post-processing, which can be invaluable for night photography.

    9. Bring a Headlamp: A headlamp can be incredibly useful for setting up your gear, composing your shots, and moving around safely in the dark.

    10. Be Patient and Experiment: Night photography requires patience and experimentation. Don’t be afraid to try different settings, techniques, and compositions until you find what works best for the scene you’re trying to capture.

    With practice and a willingness to experiment, you can create truly remarkable night photographs using your DSLR camera. Remember to have fun and embrace the unique challenges and opportunities that night photography offers.

  • Master the Art of Macro Photography: Tips for Stunning Close-Up Shots

    Master the Art of Macro Photography: Tips for Stunning Close-Up Shots

    Macro photography is the art of capturing the tiny, intricate details of the world that often go unnoticed by the naked eye. Whether you’re shooting delicate flower petals, the compound eyes of an insect, or the mesmerizing patterns found in nature, macro photography allows you to explore a whole new realm of beauty and wonder. However, this genre of photography comes with its own set of challenges, and mastering it takes practice, patience, and a few essential tips.

    1. Invest in the Right Equipment

    While it’s possible to achieve decent macro shots with a basic camera and lens, investing in specialized macro equipment will take your images to the next level. A dedicated macro lens, with its ability to focus extremely close to the subject, is a must-have for true macro photography. Extension tubes or close-up filters can also be useful tools for increasing your camera’s magnification capabilities.

    2. Stabilize Your Camera

    When shooting at such close distances, even the slightest movement can result in blurred images. Tripods are essential for macro photography, as they eliminate camera shake and allow you to fine-tune your composition. For even greater stability, consider using a remote shutter release or the self-timer function to minimize camera vibrations when pressing the shutter button.

    3. Master Depth of Field

    In macro photography, depth of field (the area of acceptable focus) is incredibly shallow, which means that only a tiny portion of your subject will be in sharp focus. To maximize depth of field, shoot at smaller apertures (higher f-numbers) and use focus stacking techniques, which involve taking multiple shots at different focus points and combining them in post-processing.

    4. Experiment with Lighting

    Proper lighting is crucial for bringing out the intricate details and textures in macro photography. Natural light can work well, but it’s often unpredictable and difficult to control. Consider using off-camera flashes or continuous lighting sources, such as LED panels or ring lights, to achieve precise and even illumination. Diffusers and reflectors can also help to soften harsh shadows and create a more pleasing overall light quality.

    5. Get Creative with Backgrounds

    In macro photography, the background is just as important as the subject itself. A cluttered or distracting background can ruin an otherwise stunning shot. Look for simple, neutral backgrounds that won’t compete with your subject, or use shallow depth of field to blur out the background completely. You can also experiment with interesting textures or colors to complement your subject and add visual interest.

    6. Be Patient and Persistent

    Macro photography requires a great deal of patience and persistence. You may need to spend hours waiting for the perfect moment, adjusting your camera settings, and experimenting with different angles and compositions. Don’t get discouraged if your initial attempts aren’t successful. Keep practicing, and you’ll gradually develop the skills and eye for detail that will elevate your macro photography to new heights.

    Whether you’re capturing the intricate patterns of a butterfly’s wing or the delicate veins of a leaf, macro photography offers a captivating glimpse into the miniature world around us. By following these tips and investing time and effort into mastering this craft, you’ll be able to create truly remarkable images that reveal the beauty hidden in the smallest of details.

  • Pro Tips for Editing RAW Images Like an Expert

    Pro Tips for Editing RAW Images Like an Expert

    RAW image files contain unprocessed data from your camera’s image sensor before any in-camera processing is applied. Editing RAW files gives you much more control and flexibility compared to JPEGs, allowing you to get the most out of your photos. However, RAW editing requires more work. Here are some pro tips to help you master RAW image editing.

    1. Shoot in RAW 

    The first and most important step is to set your camera to capture images in its own RAW file format, such as .CR2 for Canon or .NEF for Nikon. This gives you an uncompressed, unprocessed file to work with.

    2. Use Editing Software Built for RAW

    Don’t try to edit RAW files in basic image editors. You need software built specifically to read and process RAW data, like Adobe Lightroom, Capture One, or your camera maker’s proprietary software.

    3. Set Your White Balance 

    Unlike JPEGs, RAW files contain no white balance baked in. Adjust the white balance first to get neutral tones and true colors. Use the eyedropper tool to sample something you know should be neutral.

    4. Adjust Exposure and Contrast

    Take advantage of the greater dynamic range in RAW files to recover details in highlights and shadows that might be clipped in JPEGs. Carefully adjust exposure, highlights, shadows, blacks, and contrast.

    5. Enhance Colors and Clarity

    Fine tune color saturation, vibrance, and luminance to make your colors richer. Then add selective sharpening and clarity to give your images more punch and dimension.

    6. Apply Lens Corrections

    RAW editors let you automatically remove distortion, vignetting, and chromatic aberration caused by your particular lens with one click.

    7. Use Graduated and Radial Filters

    Draw linear or circular gradients to selectively apply adjustments to certain areas, like darkening skies or brightening subjects.

    8. Leverage Presets and Profiles

    Develop a workflow using preset editing settings or camera profiles tuned for your specific equipment. This keeps your edits consistent.

    9. Customize and Batch Edit

    Create your own preset recipes tailored to your personal style, then apply them with one click across entire shoots or libraries.

    10. Start on the Right Foot

    Get the best RAW files possible by using a high-quality camera, optimum exposure settings, a sturdy tripod, and ideal lighting when shooting.

    With the power and flexibility of RAW editing, you can truly elevate your photography and distinguish your work from the masses of JPEG shooters. Take the time to perfect your RAW workflow for spectacular results.

  • RAW vs JPEG: Understanding the Key Differences for DSLR Photographers

    RAW vs JPEG: Understanding the Key Differences for DSLR Photographers

    When it comes to capturing photos with a DSLR camera, one of the key decisions you’ll need to make is whether to shoot in RAW or JPEG format. Both options have their own advantages and disadvantages, and understanding the differences between them can help you make an informed choice based on your specific needs and shooting scenarios.

    What is RAW?

    RAW is a file format that captures all the unprocessed data from the camera’s image sensor. Unlike JPEG files, RAW files contain the full range of data captured by the sensor, including information about color, brightness, and other image characteristics. This data is left unprocessed, allowing you to later adjust and manipulate the image using editing software like Adobe Lightroom or Capture One.

    Advantages of RAW:

    1. More flexibility in post-processing: RAW files provide more flexibility for adjusting exposure, white balance, contrast, and other image settings during post-processing. This allows you to recover details in highlights and shadows that might be lost in a JPEG file.

    2. Higher image quality: RAW files capture more color and tonal information than JPEGs, resulting in higher image quality and more room for editing without introducing artifacts or degradation.

    3. Greater bit depth: RAW files typically have a higher bit depth (e.g., 14-bit or 16-bit) compared to JPEGs, which are 8-bit files. This allows for smoother gradations and better editing capabilities.

    Disadvantages of RAW:

    1. Larger file sizes: RAW files are significantly larger than JPEGs, which means you’ll need more storage space and faster memory cards.

    2. Requires post-processing: RAW files need to be processed and converted to a more widely usable format like JPEG or TIFF before they can be shared or printed.

    3. Compatibility issues: Not all software and devices support RAW file formats, which can limit your ability to share or view the images without additional processing.

    What is JPEG?

    JPEG (Joint Photographic Experts Group) is a widely used image file format that compresses the image data to reduce file size. When you shoot in JPEG mode, your camera processes the image data from the sensor and applies various settings, such as white balance, contrast, and sharpening, before saving the file.

    Advantages of JPEG:

    1. Smaller file sizes: JPEG files are much smaller than RAW files, making them easier to store and share.

    2. Widely compatible: JPEG is a universal file format that can be opened and viewed by most software and devices without any additional processing.

    3. Ready-to-use: JPEG files are processed in-camera, so they’re ready to be shared or printed without any additional editing.

    Disadvantages of JPEG:

    1. Limited editing flexibility: JPEG files have less dynamic range and bit depth compared to RAW files, which means you have less room for adjustments in post-processing without introducing artifacts or quality loss.

    2. Potential data loss: The compression process used in JPEG files can result in some data loss, especially if the compression level is set too high.

    3. Limited ability to recover highlights and shadows: JPEG files have a more limited range for recovering details in highlights and shadows compared to RAW files.

    Which Format Should You Choose?

    The choice between RAW and JPEG ultimately depends on your shooting needs and preferences. If you’re a professional photographer or serious enthusiast who values maximum image quality and editing flexibility, shooting in RAW format is generally recommended. However, if you’re shooting for casual purposes or need to share images quickly without extensive post-processing, JPEG might be the more convenient option.

    Many photographers opt to shoot in RAW+JPEG mode, which captures both file formats simultaneously. This allows you to have the best of both worlds – the editing flexibility of RAW files and the convenience of readily shareable JPEG files.

    Ultimately, understanding the differences between RAW and JPEG formats can help you make an informed decision based on your specific needs and workflow.

  • Point and Shoot vs DSLR Cameras: Understanding the Key Differences

    Point and Shoot vs DSLR Cameras: Understanding the Key Differences

    In the world of photography, two main types of cameras dominate the market: point and shoot cameras and digital single-lens reflex (DSLR) cameras. While both serve the purpose of capturing images, they differ significantly in terms of features, capabilities, and intended use. Understanding these differences can help you make an informed decision when choosing the right camera for your needs.

    Point and Shoot Cameras: Compact and Convenient

    Point and shoot cameras, also known as compact cameras, are designed for simplicity and ease of use. These cameras are typically small, lightweight, and pocket-friendly, making them ideal for casual photographers who want to capture everyday moments without the hassle of complex settings.

    Key features of point and shoot cameras:

    1. Automatic settings: Point and shoot cameras are built with automated features that handle most of the camera settings, such as focus, exposure, and white balance. This makes them user-friendly for those who prefer a straightforward, point-and-shoot experience.

    2. Zoom lenses: Many point and shoot cameras come equipped with built-in zoom lenses, allowing you to get closer to your subject without physically moving. However, the zoom range is generally limited compared to DSLR cameras.

    3. Compact size: The compact design of point and shoot cameras makes them highly portable and convenient for travel, social events, and capturing spontaneous moments on the go.

    4. Limited manual controls: While some advanced point and shoot cameras offer manual controls, most models prioritize automatic settings and ease of use over extensive customization options.

    DSLR Cameras: Versatility and Professional-Grade Features

    DSLR cameras, on the other hand, are designed for photographers who demand greater control, flexibility, and image quality. These cameras are typically larger and more robust, offering a range of advanced features and interchangeable lenses.

    Key features of DSLR cameras:

    1. Interchangeable lenses: DSLR cameras allow you to swap lenses based on your shooting needs, enabling you to capture a wide variety of subjects and scenarios with optimal optics. This versatility is one of the most significant advantages of DSLR cameras.

    2. Manual controls: DSLR cameras offer extensive manual controls, allowing you to adjust settings like aperture, shutter speed, ISO, and white balance to achieve the desired creative effects and capture images tailored to your vision.

    3. Larger image sensors: DSLR cameras typically have larger image sensors compared to point and shoot cameras, which translates to better image quality, lower noise levels, and improved low-light performance.

    4. Advanced autofocus and metering systems: DSLR cameras employ sophisticated autofocus and metering systems, enabling precise focus tracking and accurate exposure calculations, even in challenging lighting conditions.

    5. High-speed shooting: Many DSLR cameras are capable of capturing high-speed burst shots, making them well-suited for action photography, sports, and other fast-paced scenarios.

    While DSLR cameras offer greater versatility and control, they also come with a steeper learning curve and a higher price tag compared to point and shoot cameras.

    Choosing the Right Camera for Your Needs

    Ultimately, the choice between a point and shoot camera and a DSLR camera depends on your photography goals, experience level, and budget. Point and shoot cameras are ideal for casual photographers who prioritize convenience and simplicity, while DSLR cameras cater to those seeking professional-grade features, manual controls, and the ability to capture high-quality images in various shooting scenarios.

    Remember, the camera itself is just a tool; the true art lies in the photographer’s vision, creativity, and understanding of composition and lighting. Regardless of your choice, practice and experimentation are key to mastering the art of photography.

  • Pinhole Photography with a DSLR: Revealing the Magic of Lensless Imagery

    Pinhole Photography with a DSLR: Revealing the Magic of Lensless Imagery

    In the digital age of advanced camera technology and sophisticated lenses, some photographers are rediscovering the timeless charm of pinhole photography. This centuries-old technique eschews modern optics in favor of a simple aperture to capture images, resulting in soft, dreamy visuals with an unmistakable aesthetic. While pinhole photography is often associated with rudimentary box cameras, it’s also possible to adapt this minimalist approach to shoot pinhole images with a DSLR.

    The Pinhole Principle

    At its core, pinhole photography relies on a tiny hole which functions as the camera’s aperture, often punched through a thin material like aluminum or brass. Light passes through this minuscule opening and projects an inverted image onto the image sensor or film plane inside the camera body. The smaller the hole, the sharper the image, but this also requires slower shutter speeds to achieve proper exposure.

    Converting Your DSLR

    To experiment with pinhole photography using your DSLR, you’ll need to convert the camera by replacing the lens mount with a pinhole aperture. This can be achieved by using body caps designed specifically for pinhole photography or by carefully modifying existing body caps with a drill bit to create the pinhole. Specialized pinhole body caps are available for purchase from various manufacturers.  

    It’s crucial to ensure a light-tight seal once the pinhole body cap is attached to avoid light leaks which can ruin your exposures. Some photographers opt to use tape or anti-reflective flocking material inside the body cap to help prevent internal reflections.

    Pinhole Exposures

    Capturing pinhole images with a DSLR requires very long exposures, often ranging from several seconds to minutes or even hours, depending on lighting conditions. A sturdy tripod is essential. Additionally, using your camera’s mirror lockup function can help minimize vibrations from the mirror mechanism during these extended exposures.

    In bright daylight, exposures of 5-30 seconds are generally sufficient to produce an image. In lower light, exposures can extend to minutes or hours. A cable release or the camera’s self-timer can be invaluable for tripping the shutter without introducing camera shake.

    The Dreamy Appeal

    While sharpness is limited with pinhole imagery, that’s part of its distinctive appeal. Pinhole photographs exhibit virtually infinite depth of field with a soft, glowing quality. The results have an ethereal, almost otherworldly appearance that stands in contrast to the clinical sharpness of most digital imagery. 

    Subjects that are sublimely rendered through a pinhole lens include landscapes, architectural details, still lifes, and portraiture. The unique visual signature of pinhole photography offers an experimental creative outlet and fascinating photographic exercise using modern camera equipment.

    By adapting a DSLR for pinhole shooting, photographers can explore the boundaries of their gear while reconnecting with the elemental principles of optics and image formation. While pinhole photography may be rooted in antiquity, its captivating aesthetic remains profoundly relevant for today’s image-makers seeking novel artistic visions.

  • The Rise of DSLR Cameras: Unleashing Your Photography Potential

    The Rise of DSLR Cameras: Unleashing Your Photography Potential

    In the ever-evolving world of photography, one technology has stood out as a game-changer: the Digital Single Lens Reflex (DSLR) camera. These powerful imaging devices have revolutionized the way we capture and create stunning visual masterpieces, empowering both professional photographers and enthusiastic amateurs alike.

    At the heart of a DSLR camera lies a sophisticated mechanism that sets it apart from its compact counterparts. Unlike traditional point-and-shoot cameras, DSLRs utilize a reflex mirror system that allows the photographer to see precisely what the lens sees, providing an accurate representation of the scene through the viewfinder. This feature, combined with the ability to interchange lenses, opens up a world of creative possibilities.

    One of the most significant advantages of DSLR cameras is their large image sensor. This component, often an APS-C or full-frame sensor, captures an incredible amount of detail and dynamic range, allowing photographers to produce high-quality images with exceptional clarity and color fidelity. The larger sensor also enables better low-light performance, making DSLRs the preferred choice for shooting in challenging lighting conditions.

    Another key aspect of DSLR cameras is their versatility. With a vast array of interchangeable lenses available, from wide-angle to telephoto and everything in between, photographers can tailor their gear to suit any shooting scenario. Whether capturing sweeping landscapes, tightly framed portraits, or fast-paced action shots, the right lens can make all the difference in achieving the desired artistic vision.

    Beyond image quality and lens options, DSLR cameras offer a wealth of manual controls and customization options. Experienced photographers can adjust settings such as aperture, shutter speed, and ISO to achieve precise exposure, depth of field, and creative effects. This level of control empowers artists to fully express their creative vision, pushing the boundaries of what is possible in photography.

    While DSLR cameras may initially seem daunting to beginners, their intuitive controls and user-friendly interfaces make them accessible to photographers of all skill levels. With practice and dedication, anyone can master the art of DSLR photography and unlock a world of creative expression.

    In the digital age, where visual storytelling has become an integral part of our lives, DSLR cameras have emerged as powerful tools for capturing and preserving memories, exploring artistic boundaries, and sharing our unique perspectives with the world.