Category: Portraits

  • How to Photograph Newborns: Tips for Capturing Precious Memories

    How to Photograph Newborns: Tips for Capturing Precious Memories

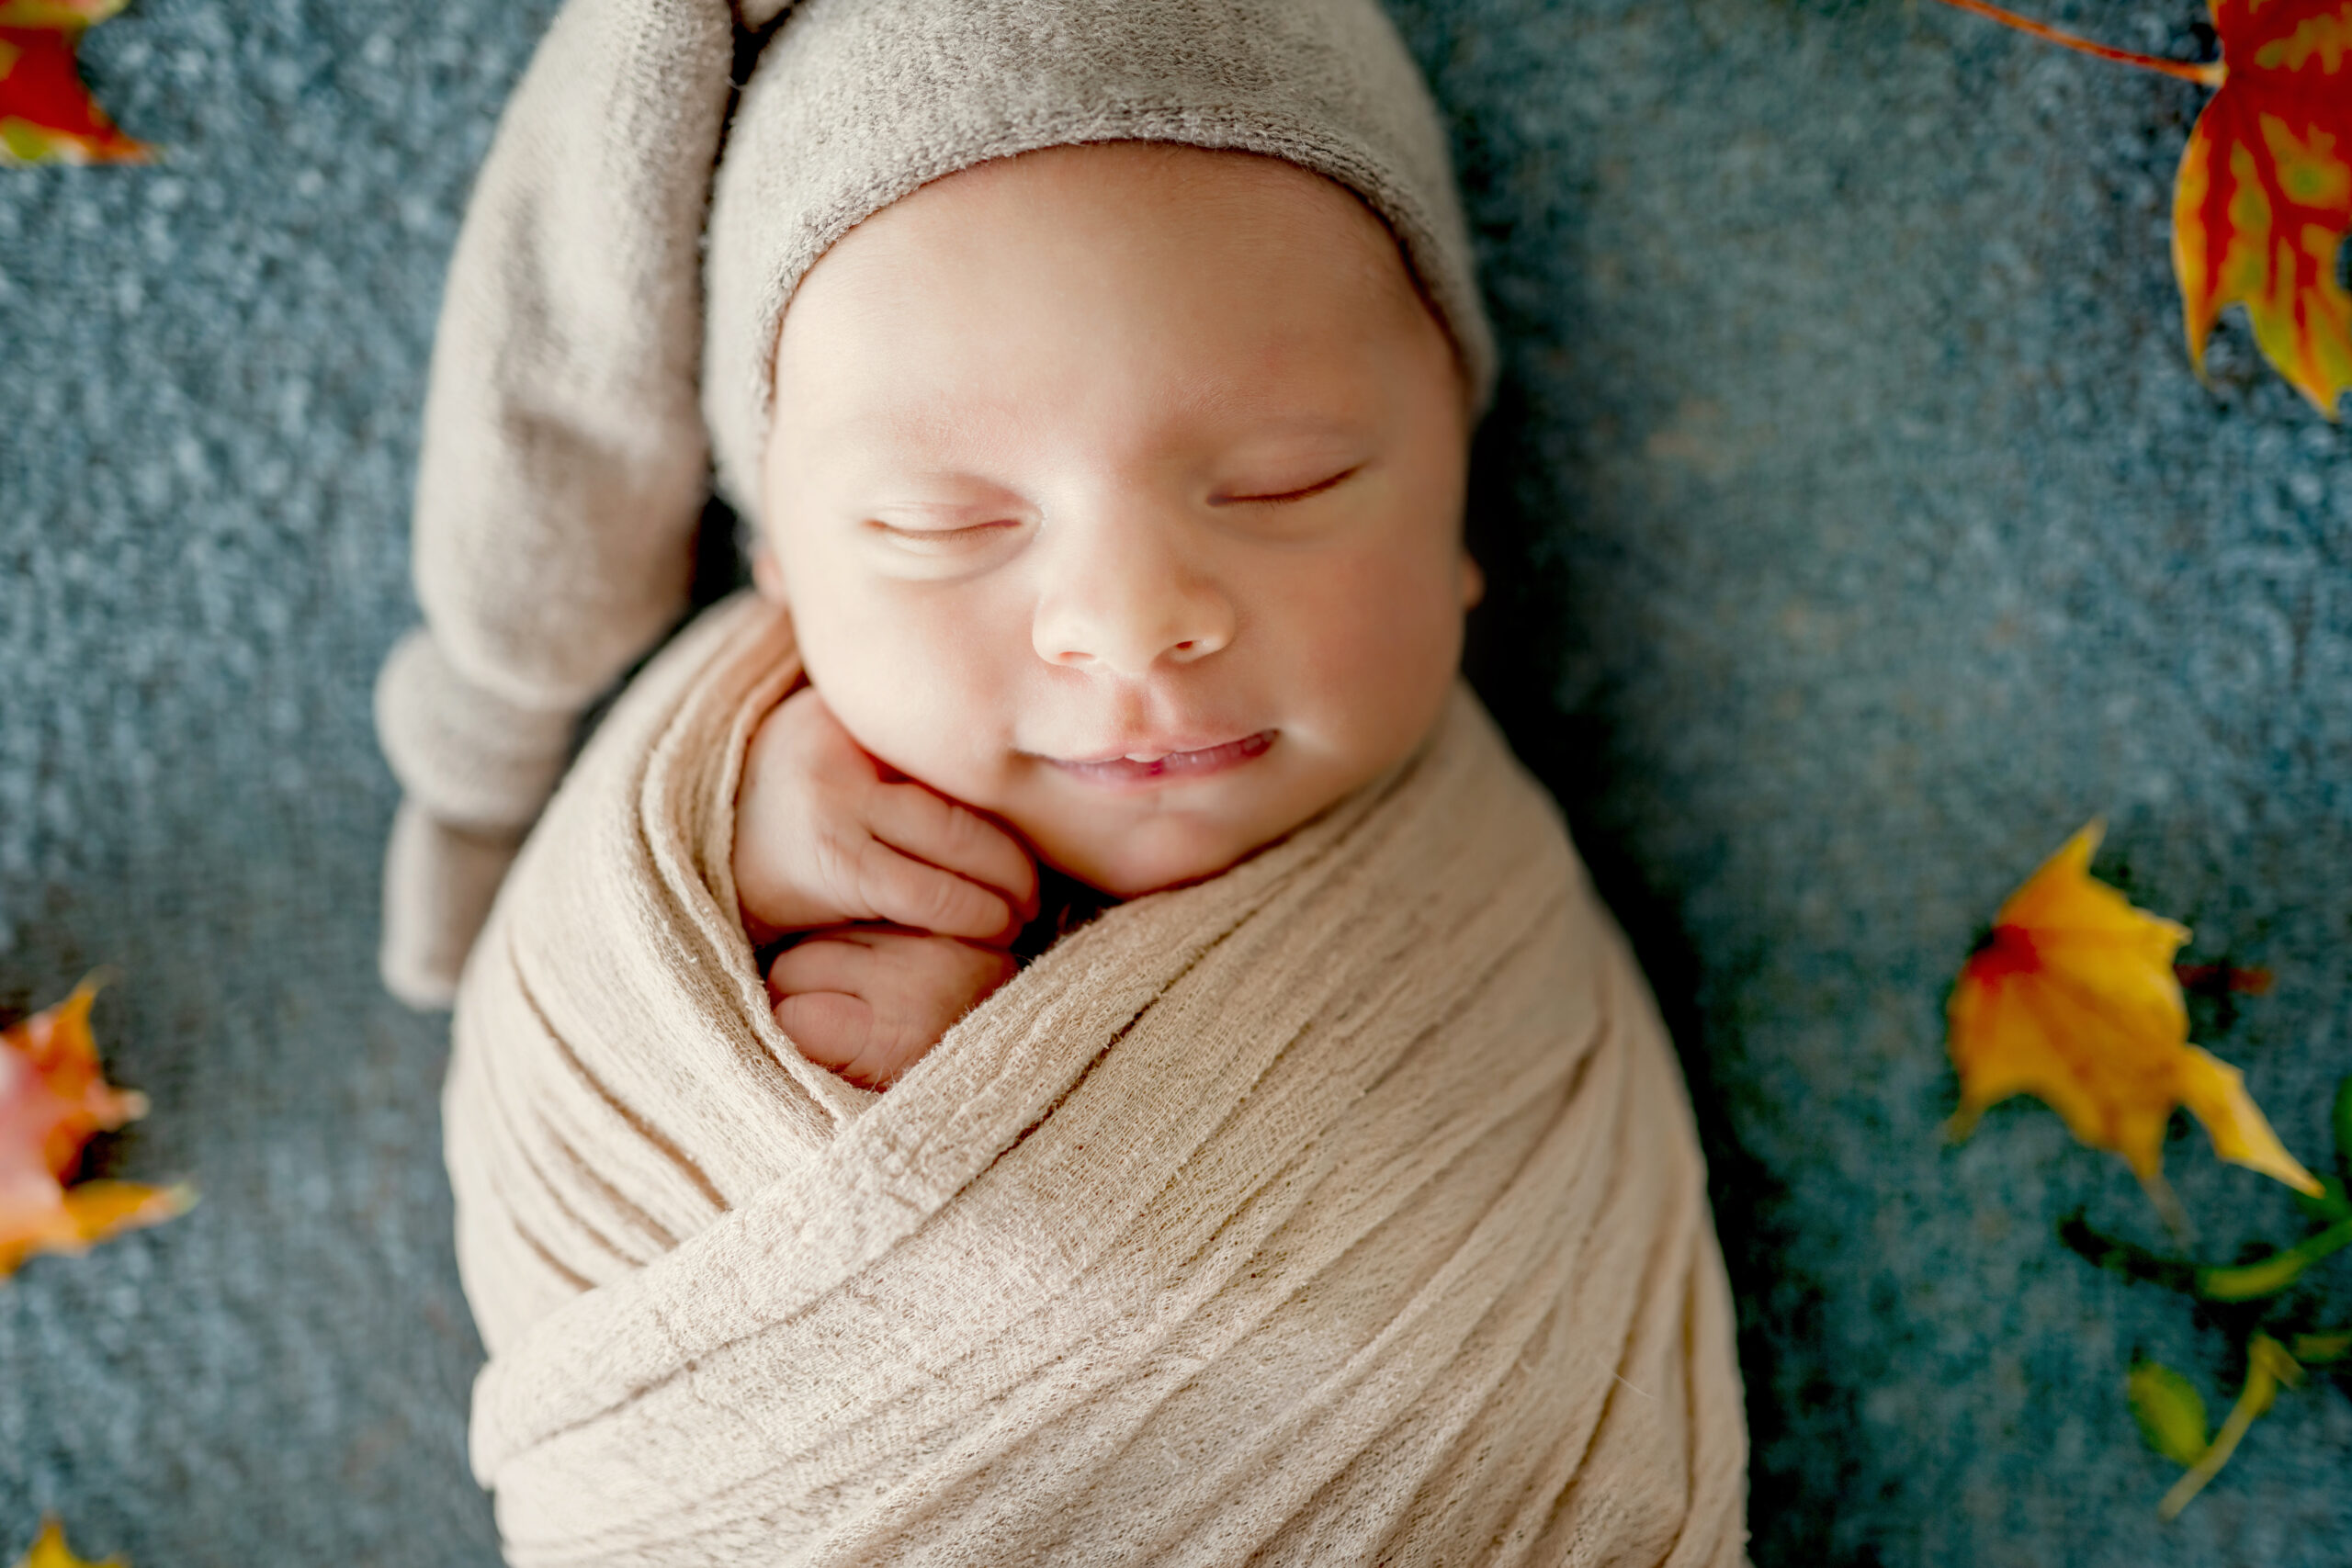
    The first few weeks after having a newborn baby are a whirlwind of emotions, sleepless nights, and indescribable joy. It’s a fleeting moment in time that you’ll want to cherish and remember forever through beautiful photographs. However, newborn photography can be challenging due to the baby’s fragility, squirmy movements, and irregular sleeping patterns. With some preparation and the right techniques, you can capture stunning images that showcase your little one’s innocence and vibrant newborn details.

    Scout the Perfect Location

    Find a warm, comfortable spot in your home with plenty of natural lighting from a large window. North-facing rooms are ideal as they provide soft, diffused light with minimal harsh shadows. The nursery or master bedroom often works well, or you can set up a simple backdrop with a solid blanket or cloth diaper in front of a window. Ensure the background is clean and uncluttered to avoid distractions.

    Timing is Everything

    Plan to do your newborn photoshoot within the first two weeks after birth. Newborns are often sleepier and easier to pose during this window. Try to capture the session when your little one is in a milk coma after a feeding. However, be flexible as babies run on their own schedules. Watch for tired cues like eye rubbing or yawning and take breaks as needed.

    Keep them Comfy and Safe

    The most important factor when photographing newborns is ensuring their safety and comfort at all times. Never prop or force your baby into an unnatural pose. Only use approved posing accessories like tightly rolled blankets and watchfully spot them with your hands. Keep babies swaddled or loosely wrapped in soft fabrics, only exposing the areas you’re shooting. Use a space heater nearby to maintain a warm environment.

    Get in Close

    To best capture all those tiny features and details, get in close with your lens. A prime lens with a large aperture like 50mm f/1.8 can produce beautifully blurred backgrounds and make colors pop. Shoot from different perspectives—overhead, side angles, close-ups—for a variety of shots and mini scenes. Move slowly and watch for those fleeting newborn expressions.

    Incorporate Meaningful Props

    You’ll want some portraits with just baby alone but incorporating meaningful props can add visual interest and symbolism. Try swaddling them in a cozy knit blanket, tucking them into a wooden bowl, or nestling them in a flokati rug. When using any props, ensure they are free of loose threads, have no sharp edges, and can’t trap little fingers or toes.

    Take Your Time

    Newborn photoshoots require loads of patience. Expect plenty of breaks for feedings, changings, soothing, and naps. Be prepared for fussiness and lots of trial and error as you find what poses and angles work best. Take advantage of any little windows where your baby is settled and snap away. The more patient and persistent you are, the more precious images you’ll capture.

    With some basic gear, a prepped setting, and an abundance of patience, you can beautifully document your newborn’s first days through photographs. These emotional images preserving your baby’s fragile innocence and tiny features will be treasured forever.
  • Mastering Subject Positioning for Flattering Portrait Photos

    Mastering Subject Positioning for Flattering Portrait Photos

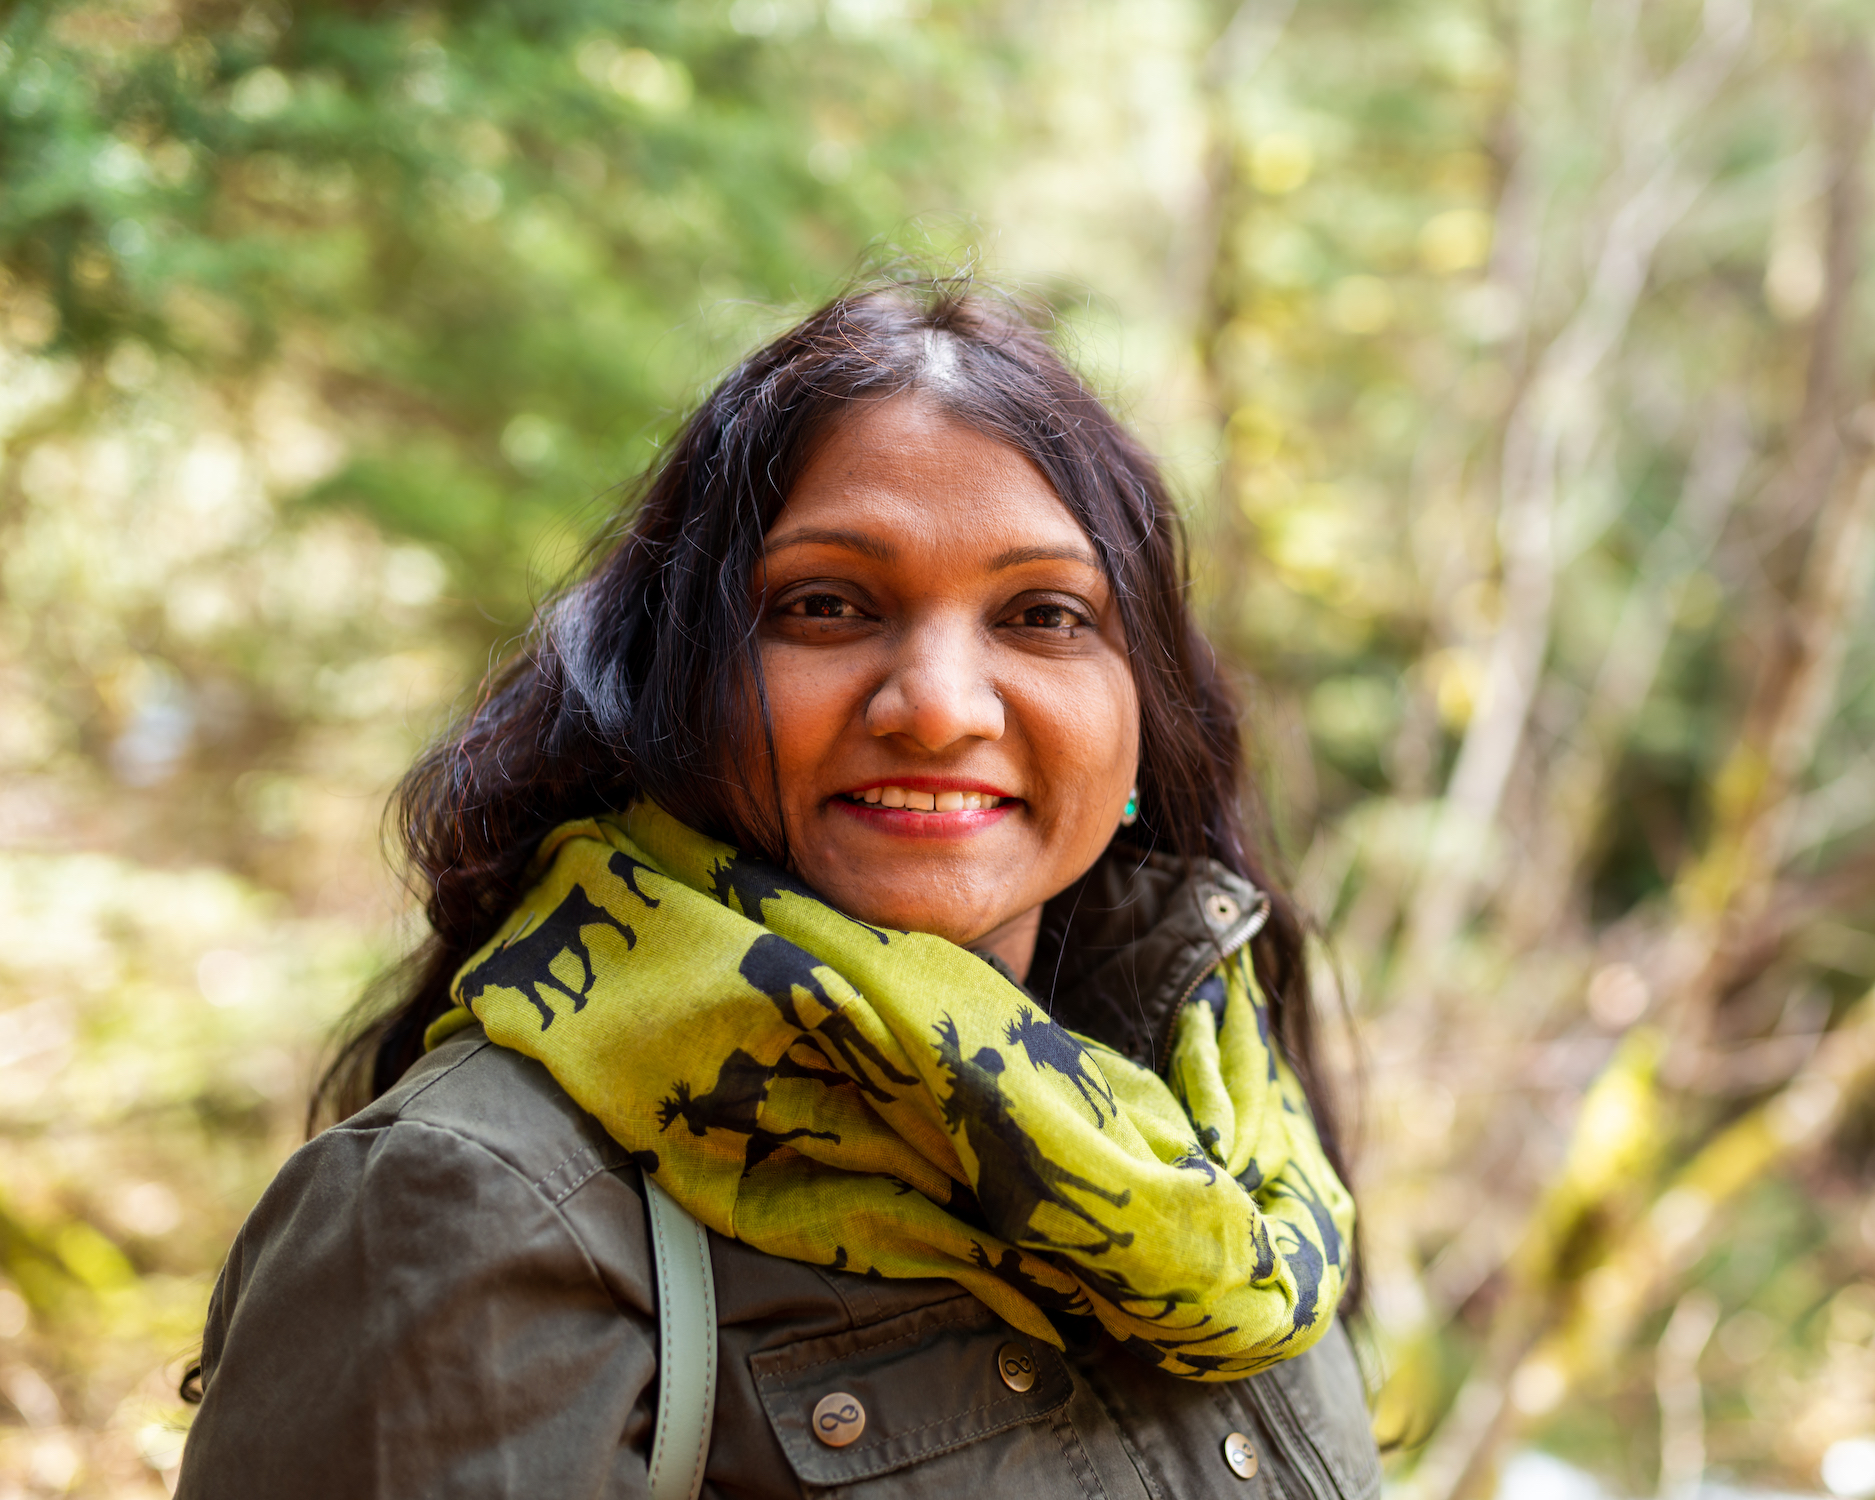
    When it comes to taking great portrait photos, the positioning and pose of your subject is crucial. The way you position your subject’s body, face, and limbs can either flatter or distort their natural looks. Proper positioning helps capture your subject’s best angles, minimizes any insecurities they may have, and creates more dynamic and visually-appealing portraits.  

    Here are some tips for positioning your subject for flattering portrait shots:

    Face the Subject Slightly Off-Center

    Rather than having your subject face the camera head-on, position them at a slight angle, with their body turned about 15-30 degrees away from making direct eye contact with the lens. This slightly off-center angle is generally more interesting and flattering than a straight-on angle.

    Use Angles to Slim the Face

    If your subject is concerned about a rounder or fuller face, position them with their chin angled slightly down towards the camera. This angle minimizes any bagginess under the chin and creates a subtle slimming effect on the face. You can also have them tilt their head up and look slightly toward the camera which elongates the neck.

    Avoid Extreme Upward or Downward Angles

    Stay away from shooting directly above or below your subject’s eye line, as these angles can distort facial features in unflattering ways. Shoot from a vantage point at around the subject’s eye level or just slightly above for the most flattering perspectives.

    Watch Your Subject’s Posture

    Poor posture in a subject can make them look stiff, hunched, and smaller than they actually are. Guide your subject into an upright, elongated posture with their shoulders pulled slightly back. This opens up the chest and neck area and gives a taller, more confident look. However, don’t have them push their shoulders too far back which can look overly rigid.

    Consider Arm and Hand Placement 

    Thoughtful arm and hand placement can make a big difference in portraits. Having subjects bend one arm at the elbow and place that hand on their hip or waist often looks natural and flattering. Avoid letting their arms hang stiffly at their sides. Play around with simple hand and arm positions until you find one that looks relaxed yet intentional.

    Use Props for More Natural Positioning

    If your subject seems stiff or isn’t sure what to do with their hands and body, try incorporating simple props like a stool or chair for them to rest a hand or elbow on. Holding things like coffee mugs, books, sunglasses, or other small objects can help them relax into a more natural pose while giving you opportunities to capture interesting detail shots.

    The positioning of your subject has a huge impact on the overall look and feel of your portrait photos. With some basic principles and practice guiding your subjects into flattering poses, you’ll be able to consistently create beautiful, confidence-boosting portraits.

  • Understanding Depth of Field on Your DSLR Camera

    Understanding Depth of Field on Your DSLR Camera

    One of the great creative controls you have with a DSLR camera is the ability to adjust the depth of field. Depth of field refers to the zone of acceptable sharpness in front of and behind the subject on which the lens is focused. By manipulating depth of field, you can control which parts of the image are sharp and which are blurred.

    Shallow Depth of Field

    A shallow depth of field is used when you want your subject to be tack sharp but the foreground and background blurred. This look is great for portraits where you want the subject’s eyes sharp but the background out of focus and smoothed over. It draws the viewer’s eye right to the subject.

    To achieve a shallow depth of field:

    • Use a lens with a wide maximum aperture (low f-stop number like f/1.8 or f/2.8)

    • Open up your aperture as wide as it will go

    • Move closer to your subject

    • Use a longer focal length lens

    Deep Depth of Field

    A deep depth of field is used when you want everything from the foreground to the background in focus. This is commonly used in landscape photography where you want the entire scene sharp front to back. It can also be used for group shots to keep everyone tack sharp.

    To get a deep depth of field:

    • Use a small aperture (high f-stop number like f/16 or f/22)

    • Use a shorter focal length wide angle lens

    • Move further away from your subject

    Aperture is the biggest determinant of depth of field. The wider the aperture (smaller f-stop number), the shallower the depth of field becomes. Stopping down the lens to a small aperture like f/22 will render a much deeper depth of field. Focal length also impacts depth of field, with longer lenses producing shallower zones of sharpness.

    Focus on What Matters

    Being able to control depth of field is a powerful technique. A shallow DOF can make your subject pop by smoothing distracting backgrounds. For portraits, focusing on the eyes and throwing the background out of focus draws all attention to your subject’s face. Whereas a deep depth of field is ideal for keeping scenes like landscapes fully sharp. Master this concept to truly make your subject stand out or render an entire scene tack sharp.

  • Mastering Portrait Photography: Tips for Stunning Results

    Mastering Portrait Photography: Tips for Stunning Results

    Portrait photography is an art that captures the essence and personality of a subject. Whether you’re photographing friends, family, or clients, crafting compelling portraits requires both technical skill and a keen eye for capturing emotions. In this article, we’ll explore some essential tips to elevate your portrait photography game.

    1. Establish a Connection

    Before you even pick up your camera, establish a rapport with your subject. Engage in conversation, make them feel comfortable, and encourage them to be themselves. A relaxed subject will yield more natural and expressive portraits.

    2. Master Lighting

    Lighting is crucial in portrait photography. Look for soft, diffused light that flatters your subject’s features. Natural light from a window or an overcast day can create beautiful, soft illumination. If shooting indoors, use off-camera flash or continuous lighting to achieve the desired look.

    3. Pay Attention to Backgrounds

    A cluttered or distracting background can detract from the impact of your portrait. Look for simple, clean backgrounds that complement your subject without stealing the spotlight. A plain wall, a bokeh-rich backdrop, or an interesting texture can make for a compelling canvas.

    4. Experiment with Angles

    Don’t be afraid to get creative with your angles. Shoot from different heights, perspectives, and distances to find the most flattering and interesting compositions. Slight adjustments in your position can dramatically change the mood and impact of your portrait.

    5. Guide Your Subject’s Pose

    While candid shots can be powerful, it’s also important to provide gentle guidance to your subject. Suggest natural poses that feel comfortable and authentic. Pay attention to their hands, facial expressions, and overall body language to capture the most engaging and compelling moments.

    6. Focus on the Eyes

    The eyes are often referred to as the windows to the soul, and in portrait photography, they are crucial. Ensure your subject’s eyes are sharp and in focus, as this will draw the viewer’s attention and create a powerful connection.

    7. Capture the Moment

    Patience and timing are key in portrait photography. Be ready to capture those fleeting, genuine expressions and moments that truly convey your subject’s personality. Anticipate the moments and have your camera ready to freeze them in time.

    8. Edit with Intention

    Post-processing can enhance your portraits, but be mindful not to over-edit. Subtle adjustments to exposure, contrast, and color can bring out the best in your images without compromising their authenticity.

    Remember, portrait photography is not just about capturing a likeness; it’s about capturing the essence of a person. By combining technical skills with a genuine connection to your subject, you can create portraits that truly resonate and leave a lasting impression.