Category: Nature

  • Creating Silky Smooth Water Effects in Photography

    Creating Silky Smooth Water Effects in Photography

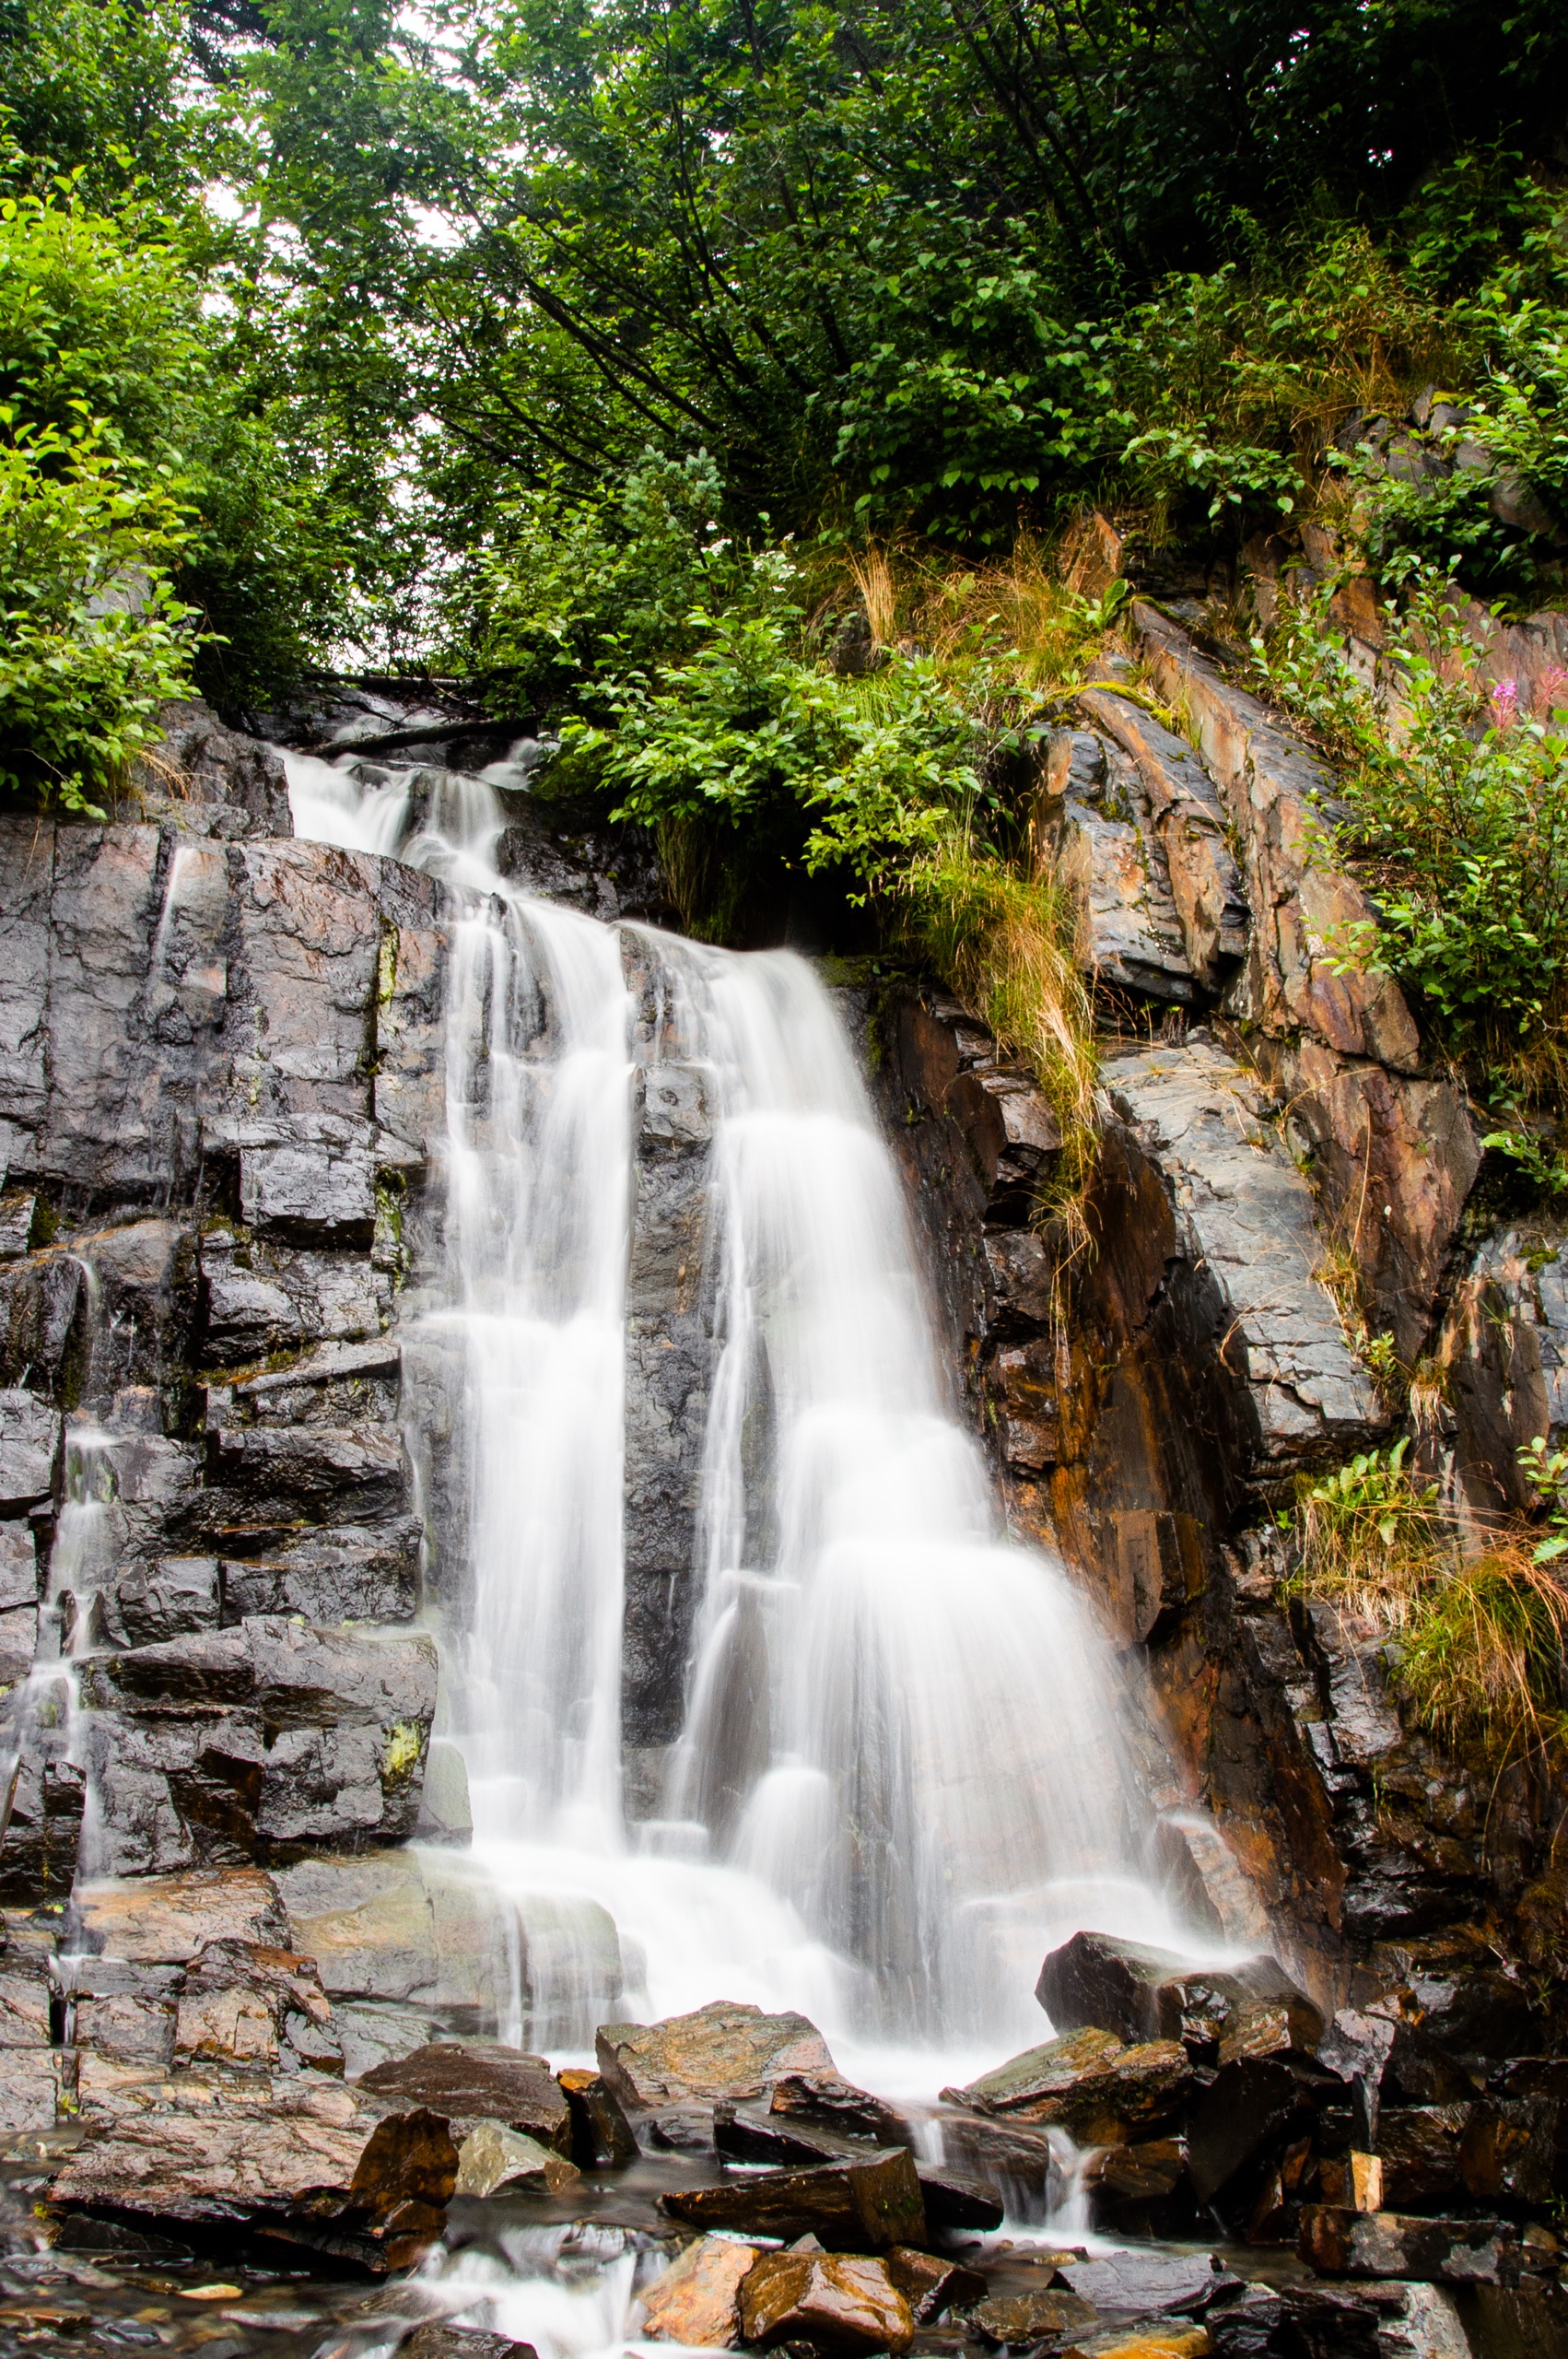
    One of the most visually striking effects you can achieve in photography is making water appear silky smooth. Rather than freezing the motion of rushing water and making it look crisp, using a long exposure blurs the movement and creates an almost ethereal, glossy look. Streams, waterfalls, ocean waves, and even rain can take on an incredibly smooth, dreamy quality with this technique. Here’s how to master creating silky water effects.

    The Gear You’ll Need

    • A DSLR or mirrorless camera that allows full manual control over settings

    • A sturdy tripod to stabilize the camera during the long exposure 

    • A neutral density (ND) filter to allow longer shutter speeds in bright conditions

    • A remote shutter release or self-timer to avoid camera shake when pressing the shutter

    Setting Up Your Camera

    1. Mount your camera on the tripod and frame your composition. Try to shoot at an angle looking slightly down at the water surface for the smoothest look.

    2. Set your camera to Aperture Priority mode and choose a small aperture like f/16 or f/22 for a wide depth of field.

    3. Set your ISO as low as it will go, usually 100 or 200, to minimize noise in the long exposures.

    4. Attach your ND filter – start with a 6-stop ND and go higher (like 10 stops) for even longer exposures if needed.

    Calculating Shutter Speed

    To blur the movement of the water smoothly, you’ll need a long shutter speed, usually several seconds or more. The exact time depends on the speed of the water flow.

    For slower flows like gentle streams, start around 1⁄4 second. For faster rapids or crashing waves, try 2-4 seconds. Adjust up or down based on your initial results. You may need 15-30 seconds for extremely rapid water.

    The camera’s light meter and exposure settings will guide you, but don’t be afraid to experiment with much longer times than the meter suggests for an extreme smoothing effect.

    Other Tips

    Use a remote or self-timer to avoid blurring from touching the camera. Watch your histogram to ensure you aren’t blowing out highlights. Try both horizontal and vertical orientations to vary the sense of motion. Look for unique perspectives and interesting foregrounds.

    With some practice adjusting your shutter speed, you’ll be able to transform any body of water into an atmospheric, velvety flow. Perfectly smooth water can make for some incredibly artistic images with an almost painterly look.
  • Tips for Stunning Bird Photography

    Tips for Stunning Bird Photography

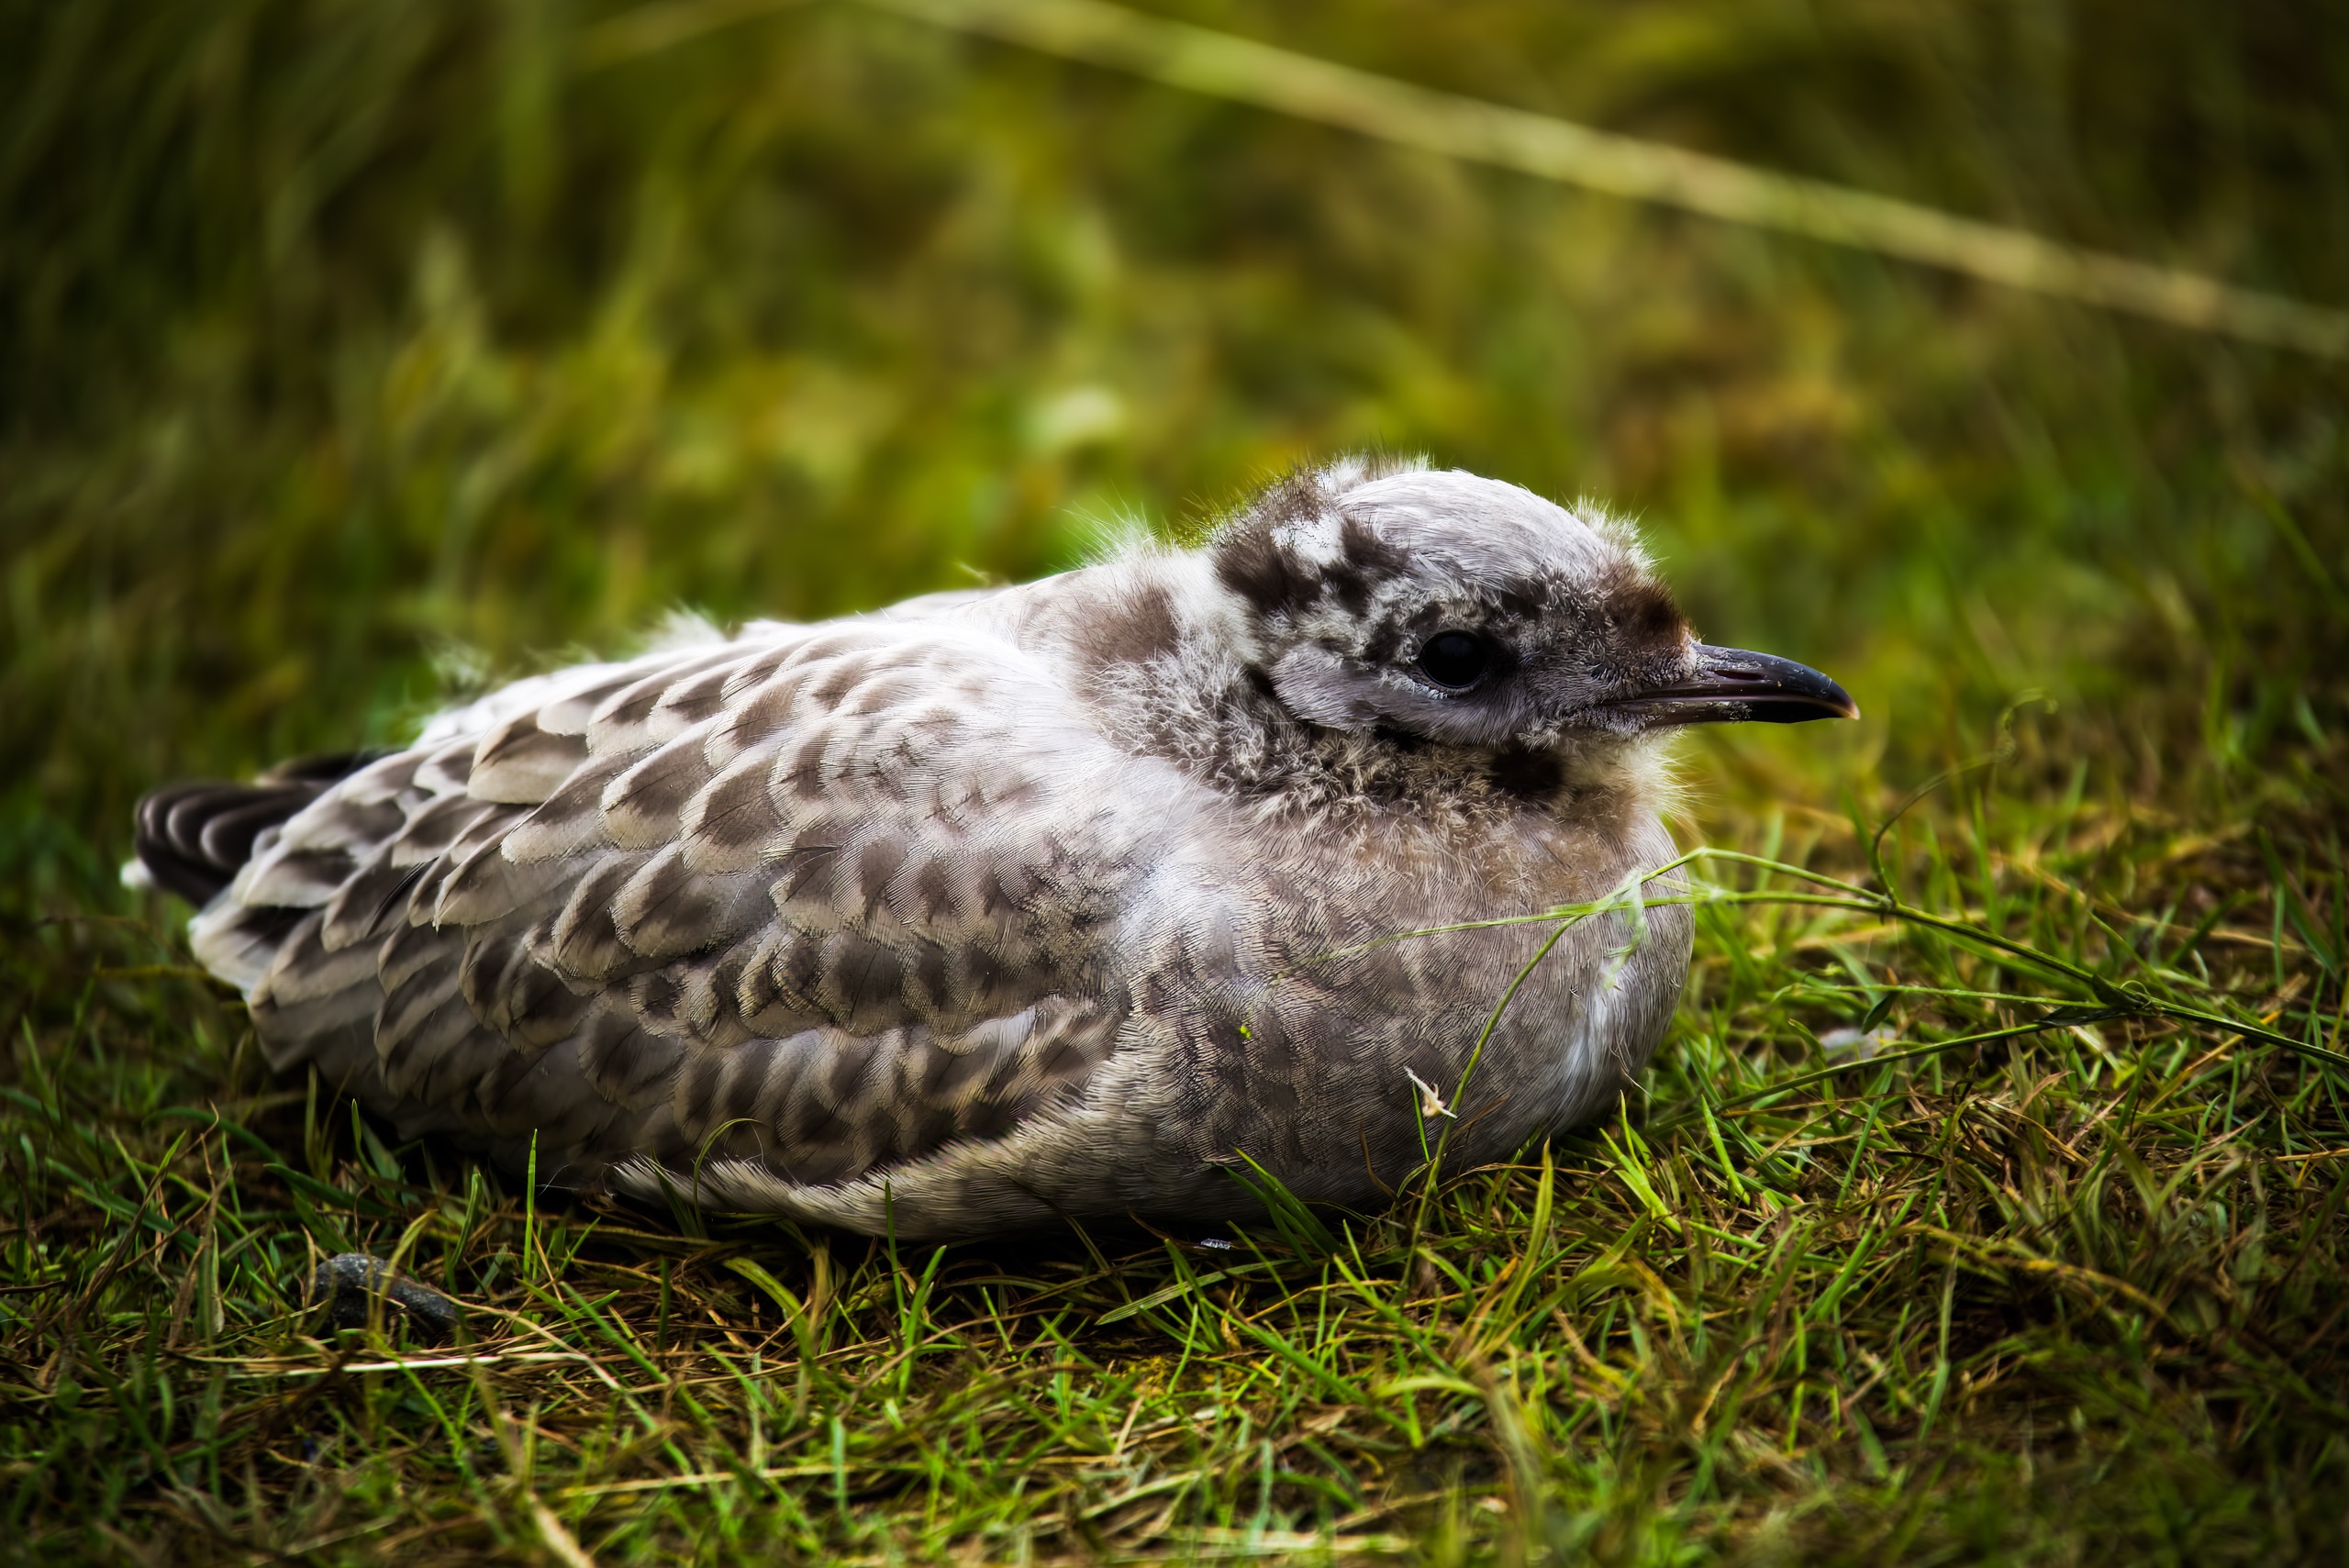
    Bird photography can be incredibly rewarding, capturing beautiful feathered creatures in their natural habitats. However, it also presents some unique challenges due to the small size and constant motion of birds. Here are some tips to help you take your bird photography to new heights:

    1. Use the Right Gear

    Invest in a camera with a fast autofocus system and high fps burst mode for capturing birds in flight. A telephoto lens with a focal length of 400mm or higher will allow you to get up close shots from a distance without disturbing your subjects. A tripod or monopod can also be very helpful for stability with those heavy lenses.

    2. Master Your Camera Settings  

    Set your camera to aperture priority mode and use a wide aperture like f/4 or f/5.6 to blur backgrounds and make your bird stand out. Increase your ISO as needed to get a fast enough shutter speed (at least 1/1000 sec) to freeze motion. Continuous autofocus mode is also essential for tracking birds.

    3. Find the Best Light

    Early morning and late afternoon light is generally most flattering for photographing birds, avoiding the harsh shadows of midday sun. Look for backgrounds that won’t be too cluttered or distracting. Being positioned with the sun behind you is ideal.

    4. Know Your Subject  

    Study the behavior patterns and habitats of the birds you want to photograph. Understanding their calls, flight patterns, nesting seasons, and favored perches will greatly increase your odds of getting close enough for great shots.

    5. Stay Low and Still 

    Birds are less threatened by objects below them than those at human eye level. Getting low to the ground and remaining still will put subjects more at ease. Use blinds or camouflage if needed. Move slowly and avoid sudden movements that will startle birds.

    6. Be Patient and Persistent 

    Bird photography requires a healthy dose of patience and many hours spent in the field simply observing and waiting for that perfect shot opportunity. Don’t get discouraged. The more time you invest, the more your skills will improve.

    With the right techniques and dedication, you’ll be able to create amazing bird imagery that shows off the beauty and complexity of these remarkable creatures.

  • Photography Tips for Capturing Amazing Wildlife Shots

    Photography Tips for Capturing Amazing Wildlife Shots

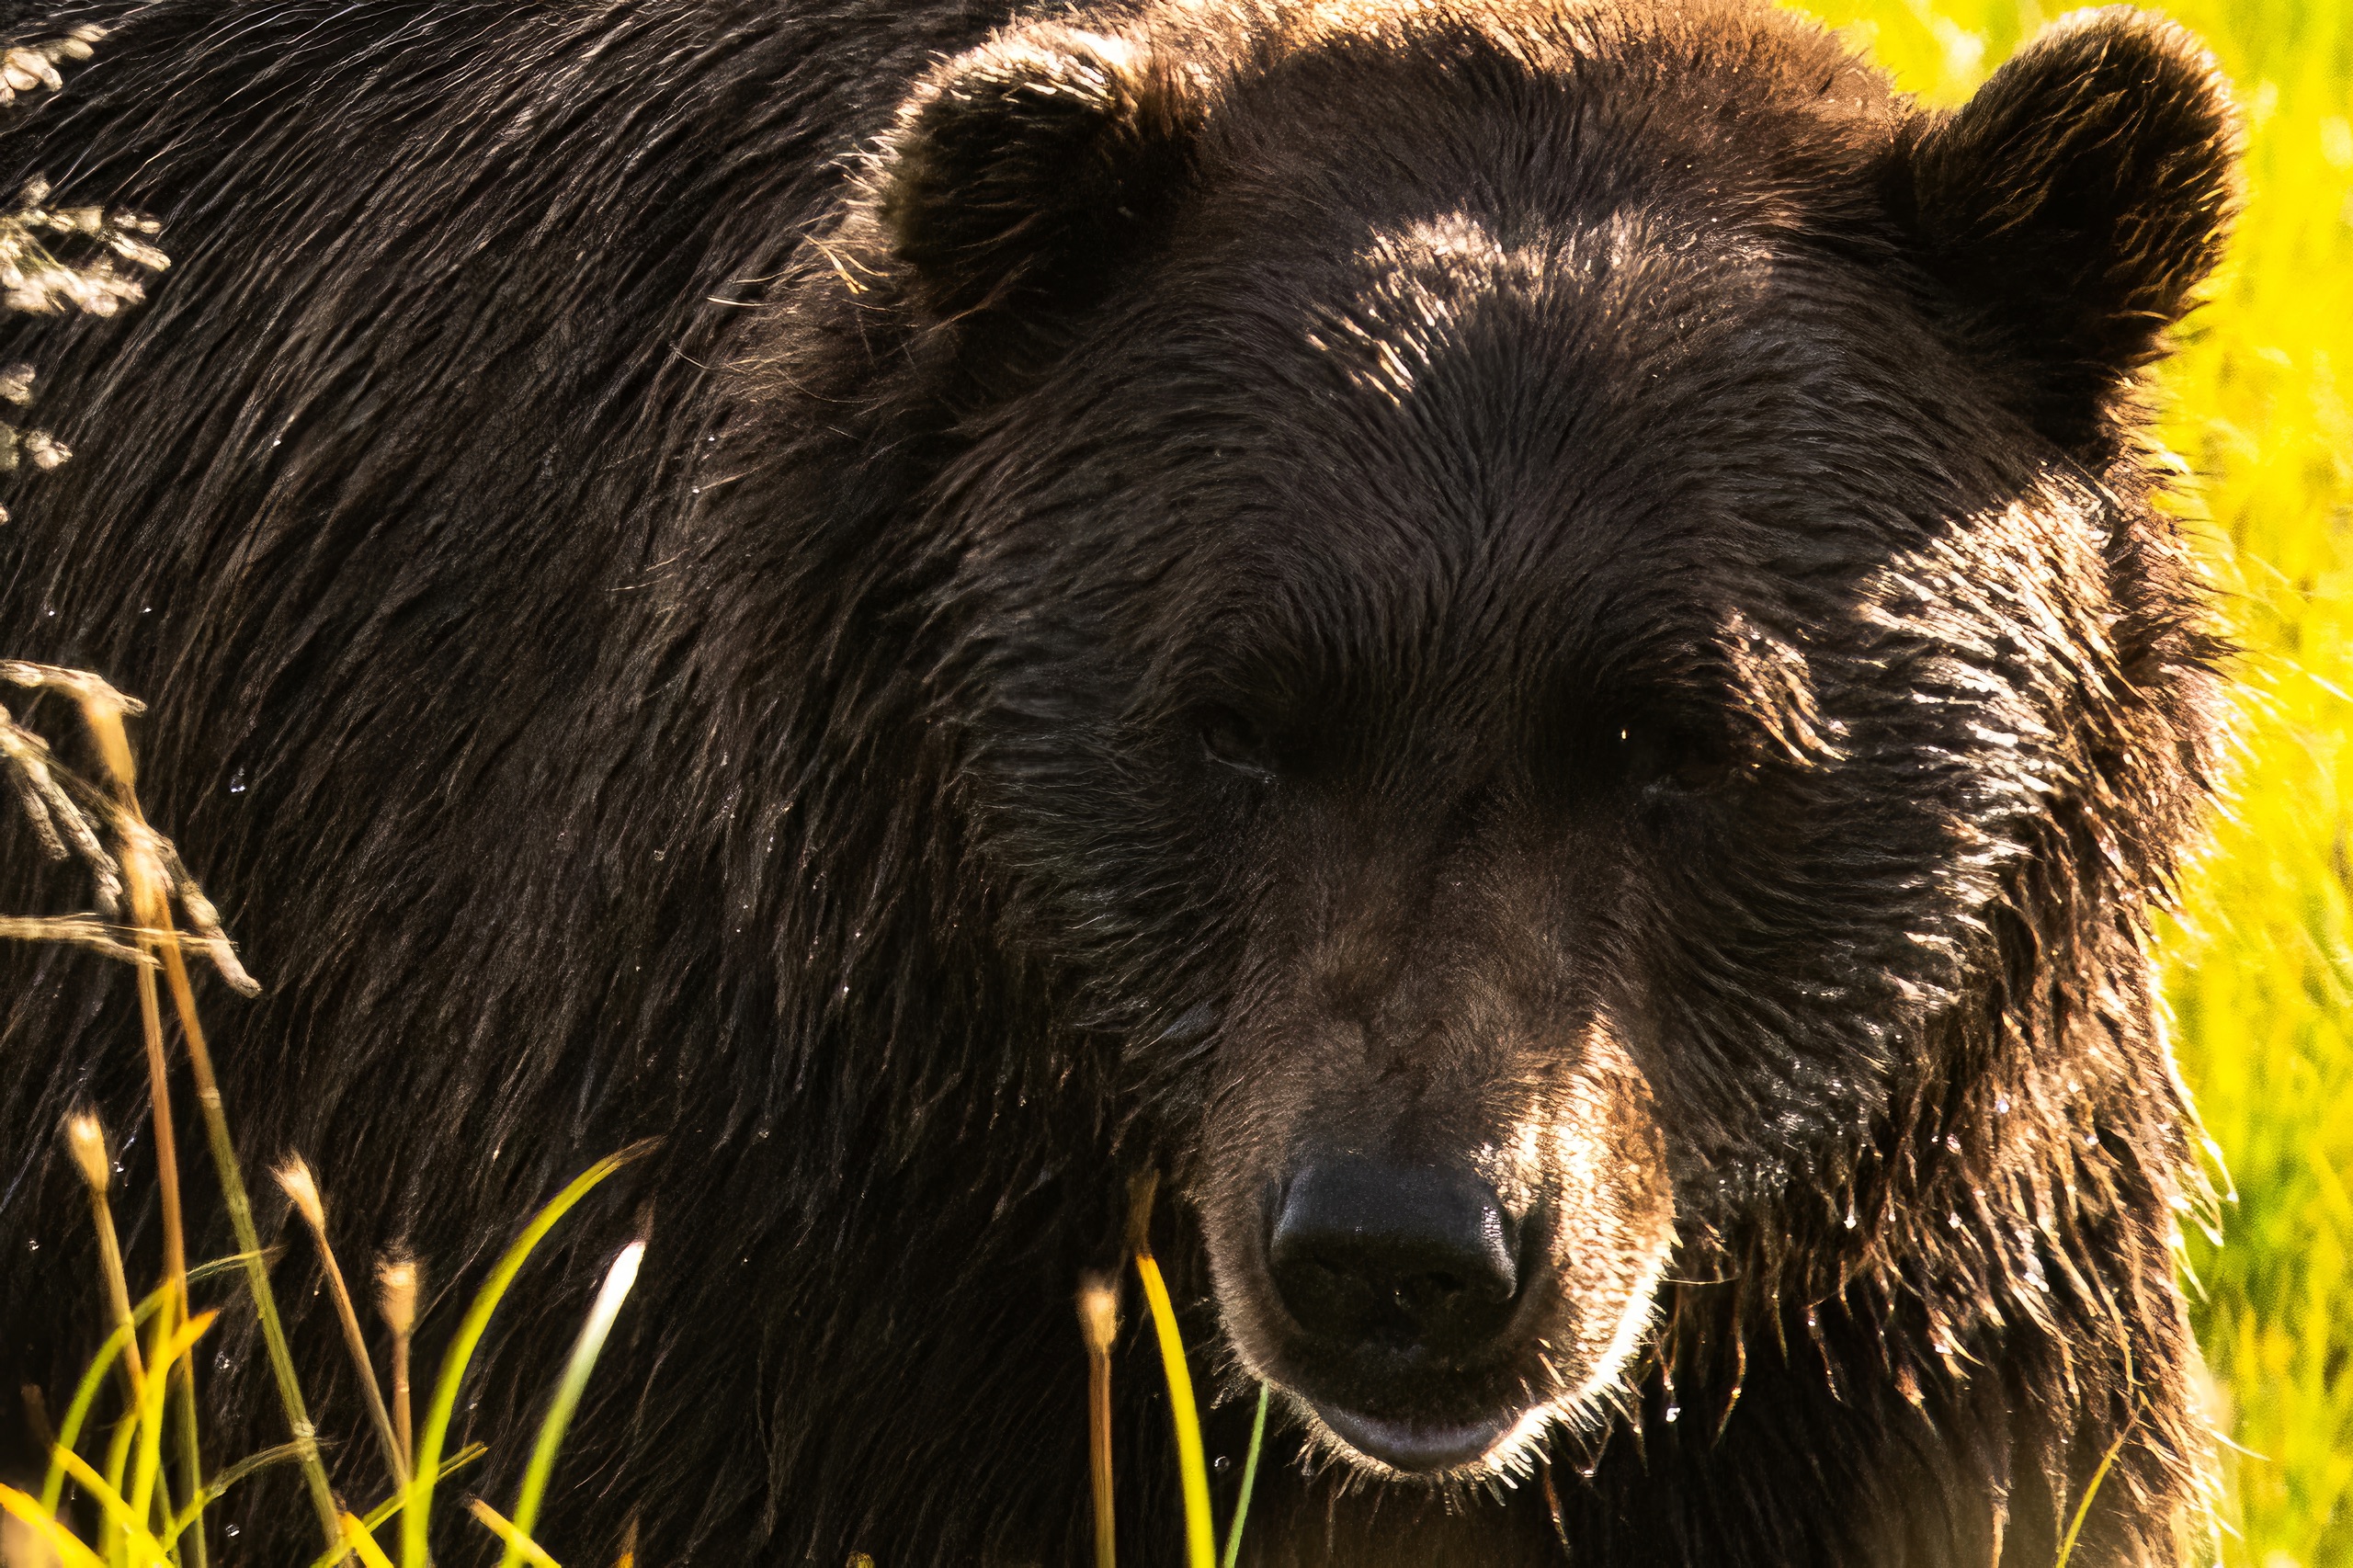
    Wildlife photography allows you to capture the beauty and behavior of animals in their natural habitats. However, it requires patience, skill, and the right techniques to get great shots. If you’re using a DSLR camera to photograph wildlife, here are some tips to help you take your photography to the next level:

    1. Use the right lens

    For wildlife photography, you’ll want a telephoto lens with a long focal length, ideally 300mm or higher. This will allow you to get close-up shots of animals without disturbing them. A zoom lens gives you flexibility to frame your shots at different distances.

    2. Master your camera settings

    Set your camera to Aperture Priority mode to control the depth of field. Use a wide aperture like f/4 or f/5.6 to blur the background and make your subject stand out. Increase your ISO to at least 400 or higher for faster shutter speeds to freeze motion. Continuous autofocus mode will help you keep fast-moving subjects in focus.

    3. Get down low

    Getting down to the animal’s eye level makes for much more engaging and intimate photographs. Lie on the ground or use a bean bag or monopod to stabilize your camera at the right height.

    4. Use good light

    The golden hours around sunrise and sunset provide beautiful, warm light for wildlife shots. If shooting in bright midday sun, look for shaded areas to avoid harsh shadows.

    5. Be patient 

    Wildlife photography requires immense patience. Spend time observing the animals first, and be ready to react quickly when the perfect shot presents itself. Move slowly and don’t make any sudden movements that could startle them.

    6. Mind your backgrounds

    Pay close attention to what’s behind the animal in your frame. A clean, uncluttered background will help make your subject pop, whereas a busy background can be distracting.

    7. Tell a story

    Great wildlife photos don’t just capture an animal’s appearance, but also give a sense of its behavior and environment. Look for interesting activities and interactions that tell a story about how the animal lives.

    With the right techniques and plenty of practice, you’ll be able to create breathtaking wildlife portraits that showcase the beauty of nature. The most important thing is to have fun and keep shooting!