Category: How To

  • Mastering Bracketing for Stunning Photos

    Mastering Bracketing for Stunning Photos

    In photography, bracketing is the technique of taking multiple shots of the same scene with different exposure settings. This is an incredibly useful tool that can help you get perfectly exposed images, especially in challenging lighting situations. Here’s why you should use bracketing and some tips to get the best results.

    Why Use Bracketing?

    1. Tricky Lighting Situations – Scenes with high contrast due to bright highlights and deep shadows can be difficult to meter and expose properly with a single shot. Bracketing allows you to capture multiple exposures to ensure you get one that is well-balanced.

    2. HDR Photography – Bracketing is essential for high dynamic range (HDR) photography. By combining bracketed images with different exposures, you can create HDR composites with an incredible range of lightness and darkness.

    3. Increased Chances of Nailing Exposure – With auto-exposure, your camera may slightly over or underexpose the image. Bracketing gives you a higher chance that at least one shot has the optimal exposure.

    Tips for Great Bracketed Shots

    1. Use a Tripod – Since you’re taking multiple shots, a sturdy tripod is a must to ensure perfect alignment between your bracketed frames for smooth blending in post-processing.

    2. Set Bracketing on Your Camera – Most DSLRs and mirrorless cameras have auto-bracketing modes that allow you to set how many shots are taken and the exposure variance between each shot.

    3. Start With the Proper Exposure – Take a properly metered shot first, then set bracketing to under and overexpose based on that reading. A typical bracketing setup is -2, 0, +2 stops.

    4. Use Aperture Priority Mode – This allows you to control depth of field while the camera adjusts shutter speed for the bracketed exposures.

    5. Take More Frames if Needed – If the contrast is extreme, you may need to bracket with an even wider range, like -3 to +3 stops.

    6. Watch Your Histogram – Check the histogram after your bracketed burst to ensure you’ve fully covered the exposure range.

    7. Shoot in RAW – RAW image files contain more data than JPEGs, giving you more flexibility with blending in post-production.

    With bracketed exposures, you dramatically increase your chances of ending up with perfectly lit images, even in challenging conditions. It may add an extra step, but bracketing is a powerful tool that can take your photography to new heights.

  • The Power of RAW Image Editing

    The Power of RAW Image Editing

    If you’re a photographer looking to take your image editing to the next level, working with RAW files is a must. RAW is an image format that captures all of the unprocessed data from your camera’s image sensor before it gets compressed into a JPEG or other standard file format. By shooting in RAW, you’re able to capture more detail, dynamic range, and color data than you get with JPEGs straight out of the camera.

    The trade-off is that RAW files need to be processed and “developed” using editing software before they can be exported into a viewable format like JPEG. But this extra flexibility is what makes RAW so powerful for editing. Here are some of the key benefits of editing RAW files:

    Increased Dynamic Range

    RAW files store a wider range of tones from bright highlights to dark shadows compared to JPEGs. This gives you much more ability to recover details from overexposed highlights or underexposed shadows when you edit the RAW file.

    More Color Control

    RAW files contain more color data than JPEGs. This allows you to adjust the white balance more precisely after the fact to get more accurate colors. You can also fine tune other color parameters like saturation, vibrance, and individual color hues.

    Non-Destructive Editing

    RAW files are read-only, so your editing software applies non-destructive adjustments on top of the original RAW data. This means you can always go back and re-edit or tweak your adjustments without degrading image quality. JPEGs use destructive editing which permanenently bakes in adjustments and can reduce quality.

    More Editing Headroom

    Since RAW files start off as unprocessed data, you have much more flexibility to make more extreme edits compared to the already-processed JPEG files from your camera. Things like exposure adjustments, sharpening, noise reduction, and lens correction all work better on RAW files.

    The RAW Editing Process

    To harness the power of RAW on your photos, you’ll need software that can read your camera’s proprietary RAW format, such as Adobe Lightroom or Photoshop. The basic RAW editing workflow is:

    1. Import your RAW files into your editing program 

    2. Apply global adjustments like white balance, exposure, contrast, etc.

    3. Make local adjustments with grad filters, brushes, etc. 

    4. Export your edited RAW file as a JPEG or other final format

    It takes some getting used to at first, but once you start editing RAW files you’ll be amazed at the extra flexibility and quality you can get out of your photos compared to straight-out-of-camera JPEGs. Shooting in RAW unlocks the full potential of your digital camera and your photo editing skills.

  • Understanding Shutter Speed for Better Photos

    Understanding Shutter Speed for Better Photos

    When you’re just starting out in photography with a DSLR camera, one of the key camera settings to get familiar with is the shutter speed. The shutter speed controls how long the camera’s image sensor is exposed to light when taking a photo. Getting the right shutter speed is crucial for avoiding blurry shots from camera shake or motion blur.  

    What Is Shutter Speed?

    The shutter speed is expressed as a fraction that shows how long the shutter is open and the image sensor is exposed, such as 1/250th of a second or 1/60th of a second. The larger the denominator value, the faster the shutter speed. For example, 1/2000th is much faster than 1/60th.

    Choosing the Right Shutter Speed

    The ideal shutter speed depends on the shooting conditions and your creative goals. As a general rule, you want to use a faster shutter speed (like 1/500th or higher) when shooting moving subjects to freeze motion and prevent blur. For stationary subjects, you can use slower speeds like 1/60th or 1/30th.

    However, another major factor is whether you are hand-holding the camera or not. If hand-holding, you’ll want to shoot at 1/focal length or faster to prevent camera shake blur. So if using a 100mm lens, try to stick to at least 1/100th of a second.

    When using slower shutter speeds, you’ll need to stabilize the camera on a tripod or solid surface. Slower speeds like 1/15th or even several seconds can be used for creative effects like smoothing movement in waterfalls or light trails from car headlights.

    In low light, you may need to use slower shutter speeds, which increases the risk of blur. Using a higher ISO can help you increase the shutter speed. Or use a flash to freeze motion with a faster shutter speed.

    The shutter speed setting works in tandem with the aperture and ISO to get properly exposed images. Play around with different shutter speeds to really understand how it impacts your photos. With practice, you’ll be a master of this key camera setting.

  • Understanding ISO on Your DSLR Camera

    Understanding ISO on Your DSLR Camera

    When learning photography with a DSLR camera, one of the key exposure settings you’ll want to master is ISO. The ISO setting controls the sensor’s sensitivity to light, which impacts characteristics like brightness and noise in your images. Getting a handle on how ISO works is crucial for taking well-exposed photos in different lighting conditions. Here’s a rundown of what you need to know about ISO.

    What is ISO?

    ISO is an abbreviation that originally stood for the International Organization for Standardization, which sets standards for things like camera sensors. The ISO setting on your camera refers to the sensor’s light sensitivity rating. The lower the ISO number, the lower the sensitivity to light and vice versa.

    A low ISO like 100 or 200 is optimal for bright scenes like sunny days. Lower ISOs produce the cleanest images with minimal noise or grain. However, they require more light and slower shutter speeds which can lead to blurry shots in dimmer conditions.

    As you increase the ISO to 400, 800, 1600 etc., the sensor becomes more sensitive allowing for faster shutter speeds to freeze action and blur in low light. However, boosting the ISO too high results in unwanted digital noise and graininess in your photos.

    How to Use ISO Effectively

    The key is to use the lowest ISO possible while still allowing for a reasonable shutter speed based on your lighting. Start with the lowest native ISO of your camera (100 or 200 for most DSLRs) when shooting in bright light. Then, increase the ISO progressively as the light fades to maintain fast shutter speeds and avoid blurry shots from camera shake or motion blur.  

    Most modern cameras can produce relatively clean, low-noise images even at higher ISOs like 1600 or 3200. However, every sensor has its limits, so you’ll want to review your images at 100% zoom to check for noise and adjust the ISO accordingly for your desired image quality.

    ISO works hand-in-hand with shutter speed and aperture as part of the exposure triangle. By balancing all three settings, you can capture sharp, well-exposed photos in any scenario from bright sun to dimly lit concerts or sports arenas.

    Overall, ISO is a powerful tool to master as a photographer. Taking control over this setting allows you to handpick the shutter speed and aperture needed for your creative vision while ensuring proper exposure under challenging lighting conditions.

  • Understanding Aperture on Your DSLR Camera

    Understanding Aperture on Your DSLR Camera

    As you advance in photography and start learning more about the manual settings on your DSLR camera, aperture is one of the key concepts you’ll want to master. The aperture controls the amount of light that passes through the lens and hits the camera’s image sensor. Getting a handle on how aperture works is crucial for taking well-exposed photos and achieving the depth of field you want in your images.

    What is Aperture?

    The aperture is an opening in the lens that can be made wider or narrower. It contains small blades that work like the pupil in your eye, either dilating or contracting to control the flow of light. Aperture is measured in f-stops, with smaller f-stop numbers representing a wider opening that allows more light in. For example, f/2.8 is a very wide aperture that allows a lot of light, while f/22 is quite small and restricts light heavily.

    Aperture and Depth of Field

    In addition to controlling exposure, the aperture setting has a major impact on depth of field. Depth of field refers to the level of sharpness in the image, both in front of and behind the subject you focused on. A wider aperture like f/2.8 or f/4 produces a shallower depth of field, causing the background to appear beautifully blurred. This is great for portraiture when you want the subject to stand out against the soft backdrop.

    On the other hand, a narrower aperture like f/16 or f/22 yields a deeper depth of field where more of the scene from foreground to background appears in sharp focus. This is ideal for landscape photography when you want to capture detail and clarity throughout the entire image.

    Balancing Aperture with Shutter Speed and ISO

    Aperture exists in a balancing act with the other two exposure settings, shutter speed and ISO. If you open up the aperture to allow in more light, you’ll need to increase the shutter speed and/or lower the ISO to avoid overexposure. Conversely, stopping down the aperture requires a slower shutter speed and/or higher ISO to compensate for the reduced light hitting the sensor.

    When shooting handheld, you’ll generally want to use the widest aperture possible (lowest f-stop number) to allow for a faster shutter speed and prevent blur from camera shake. On a tripod, you can afford to stop down the aperture for deeper depth of field.

    Mastering aperture and depth of field takes practice, but it’s a gateway to taking complete control over your photography and achieving the desired look for your imagery. So experiment with adjusting those f-stop settings and see the effects for yourself!

  • Photography Tips for Capturing Amazing Wildlife Shots

    Photography Tips for Capturing Amazing Wildlife Shots

    Wildlife photography allows you to capture the beauty and behavior of animals in their natural habitats. However, it requires patience, skill, and the right techniques to get great shots. If you’re using a DSLR camera to photograph wildlife, here are some tips to help you take your photography to the next level:

    1. Use the right lens

    For wildlife photography, you’ll want a telephoto lens with a long focal length, ideally 300mm or higher. This will allow you to get close-up shots of animals without disturbing them. A zoom lens gives you flexibility to frame your shots at different distances.

    2. Master your camera settings

    Set your camera to Aperture Priority mode to control the depth of field. Use a wide aperture like f/4 or f/5.6 to blur the background and make your subject stand out. Increase your ISO to at least 400 or higher for faster shutter speeds to freeze motion. Continuous autofocus mode will help you keep fast-moving subjects in focus.

    3. Get down low

    Getting down to the animal’s eye level makes for much more engaging and intimate photographs. Lie on the ground or use a bean bag or monopod to stabilize your camera at the right height.

    4. Use good light

    The golden hours around sunrise and sunset provide beautiful, warm light for wildlife shots. If shooting in bright midday sun, look for shaded areas to avoid harsh shadows.

    5. Be patient 

    Wildlife photography requires immense patience. Spend time observing the animals first, and be ready to react quickly when the perfect shot presents itself. Move slowly and don’t make any sudden movements that could startle them.

    6. Mind your backgrounds

    Pay close attention to what’s behind the animal in your frame. A clean, uncluttered background will help make your subject pop, whereas a busy background can be distracting.

    7. Tell a story

    Great wildlife photos don’t just capture an animal’s appearance, but also give a sense of its behavior and environment. Look for interesting activities and interactions that tell a story about how the animal lives.

    With the right techniques and plenty of practice, you’ll be able to create breathtaking wildlife portraits that showcase the beauty of nature. The most important thing is to have fun and keep shooting!

  • Capturing Breathtaking Landscapes with Your DSLR

    Capturing Breathtaking Landscapes with Your DSLR

    Landscape photography allows you to immortalize the beauty and grandeur of the natural world around us. With the right techniques and a quality DSLR camera, you can create stunning images that transport viewers to those mesmerizing scenes. Here are some essential tips to elevate your landscape photography skills:

    1. Scout the Location: Great landscape shots start with finding an interesting and photogenic location. Scout potential locations during different times of the day to observe how the light interacts with the scene. Plan your shoot around the golden hours – shortly after sunrise and before sunset – when the light is warm and soft, casting a beautiful glow over the landscape.

    2. Use a Tripod: Keeping your camera steady is crucial for achieving sharp, blur-free images, especially in low-light conditions. A sturdy tripod will eliminate camera shake and allow you to use slower shutter speeds, which is often necessary for proper exposure.

    3. Compose Carefully: The composition of your shot can make or break the final image. Look for interesting foreground elements like rocks, flowers, or a winding path to add depth and lead the viewer’s eye into the scene. Follow the rule of thirds by positioning key elements along the intersection points of an imaginary 3×3 grid. Experiment with different perspectives, such as getting low to the ground or shooting from a higher vantage point.

    4. Maximize Depth of Field: Landscape scenes often benefit from having both the foreground and background in sharp focus. To achieve this, use a small aperture like f/11 or f/16 to increase the depth of field. Keep in mind that smaller apertures also require slower shutter speeds, so use a tripod to avoid camera shake.

    5. Use Filters: Filters can be powerful tools for landscape photographers. A polarizing filter can intensify colors and reduce glare from reflective surfaces like water or foliage. A neutral density (ND) filter allows you to use longer shutter speeds, creating a silky smooth effect on moving elements like waterfalls or clouds.

    6. Capture Movement: Speaking of movement, don’t be afraid to incorporate it into your landscape shots. Use a slower shutter speed (around 1/4 to 1/2 second) to blur the motion of clouds, water, or other moving elements, adding a sense of dynamism to your image.

    7. Shoot in RAW: Always shoot in RAW format if your DSLR supports it. RAW files contain more image data than JPEGs, giving you greater flexibility for adjustments during post-processing, such as recovering details in highlights and shadows, fine-tuning white balance, and more.

    8. Post-Process with Care: While post-processing is an essential part of landscape photography, be careful not to over-edit your images. Subtle adjustments to exposure, contrast, and color can enhance the natural beauty of the scene, but excessive editing can make the image look unnatural and lose its authenticity.

    Remember, landscape photography is a practice in patience and perseverance. Be prepared to wait for the perfect light, weather conditions, and moments that capture the true essence of the scene before you. With dedication and attention to these tips, you’ll be well on your way to creating breathtaking landscape images that showcase the natural world in all its glory.

  • Capturing the Pulse of the City: Tips for Shooting Vibrant Street Photography

    Capturing the Pulse of the City: Tips for Shooting Vibrant Street Photography

    Street photography offers a unique way to document the ever-changing rhythms and candid moments of life in a city. From bustling markets to quiet alleyways, the streets provide an ever-changing canvas waiting to be captured. However, street photography also presents its own set of challenges. Here are some tips to help you capture striking and authentic street shots:

    1. Shoot Candidly and Discretely

    The essence of street photography is capturing natural, unposed moments. Avoid disrupting the scene or drawing too much attention to yourself. Shoot from the hip or keep your camera at waist level to blend in with the surroundings. Use zones or manual focus to stay ready for spontaneous action.

    2. Work on Your Ninja Skills 

    Develop your ability to anticipate and time decisive moments. Street photography often involves quick reflexes and an eye for compelling gestures, expressions, or movements. See the potential for a great shot before it happens and be ready to capture it.

    3. Look for Compelling Juxtapositions

    The streets are full of contrasts, humor, and quirky details waiting to be framed. Look for interesting contrasts and layered scenes that create impactful visual stories. A pop of bright color, an unusual character, intriguing symmetry – these elements add depth and fascination.

    4. Explore Unique Angles

    Getting down low, going up high, or using foreground elements can instantly add energy and intrigue to an otherwise ordinary scene. Search for fresh angles and perspectives to make your street shots stand out from the crowd.

    5. Embrace Natural Light

    Street scenes are bathed in ever-changing natural light at different times of day. Learn to harness the drama of golden hour light, vibrant colors from flares and reflections, and the moodiness of backlit scenes. The play of light is what truly brings street photography to life.

    6. Respect Privacy

    While public spaces are fair game for street photographers, have a healthy respect for privacy. Avoid overly intrusive shots of private residences or moments, and never share identifying information without consent. Connect with your subjects if possible.

    7. Wander and Explore 

    The best street shots often come from getting off the beaten path and immersing yourself in the flow of a place. Wander side streets, alleys, squares and markets with a keen eye. The act of exploration often leads to unforgettable street scenes.

    Street photography celebrates the beauty, humor, poignancy and energy of public life. With patience, anticipation and a willingness to explore, you can capture unforgettable slices of life that show the true pulse of the city.

  • Tips for Stunning Cityscape Photography

    Tips for Stunning Cityscape Photography

    Cityscape photography offers a unique opportunity to capture the beauty, energy, and grandeur of urban environments. From towering skyscrapers to historic landmarks bathed in city lights, there’s an endless array of subjects and compositions to explore. However, mastering cityscape photography requires a blend of technical skills and creative vision. Here are some essential tips to help you capture breathtaking cityscapes.

    1. Scout Locations and Timing

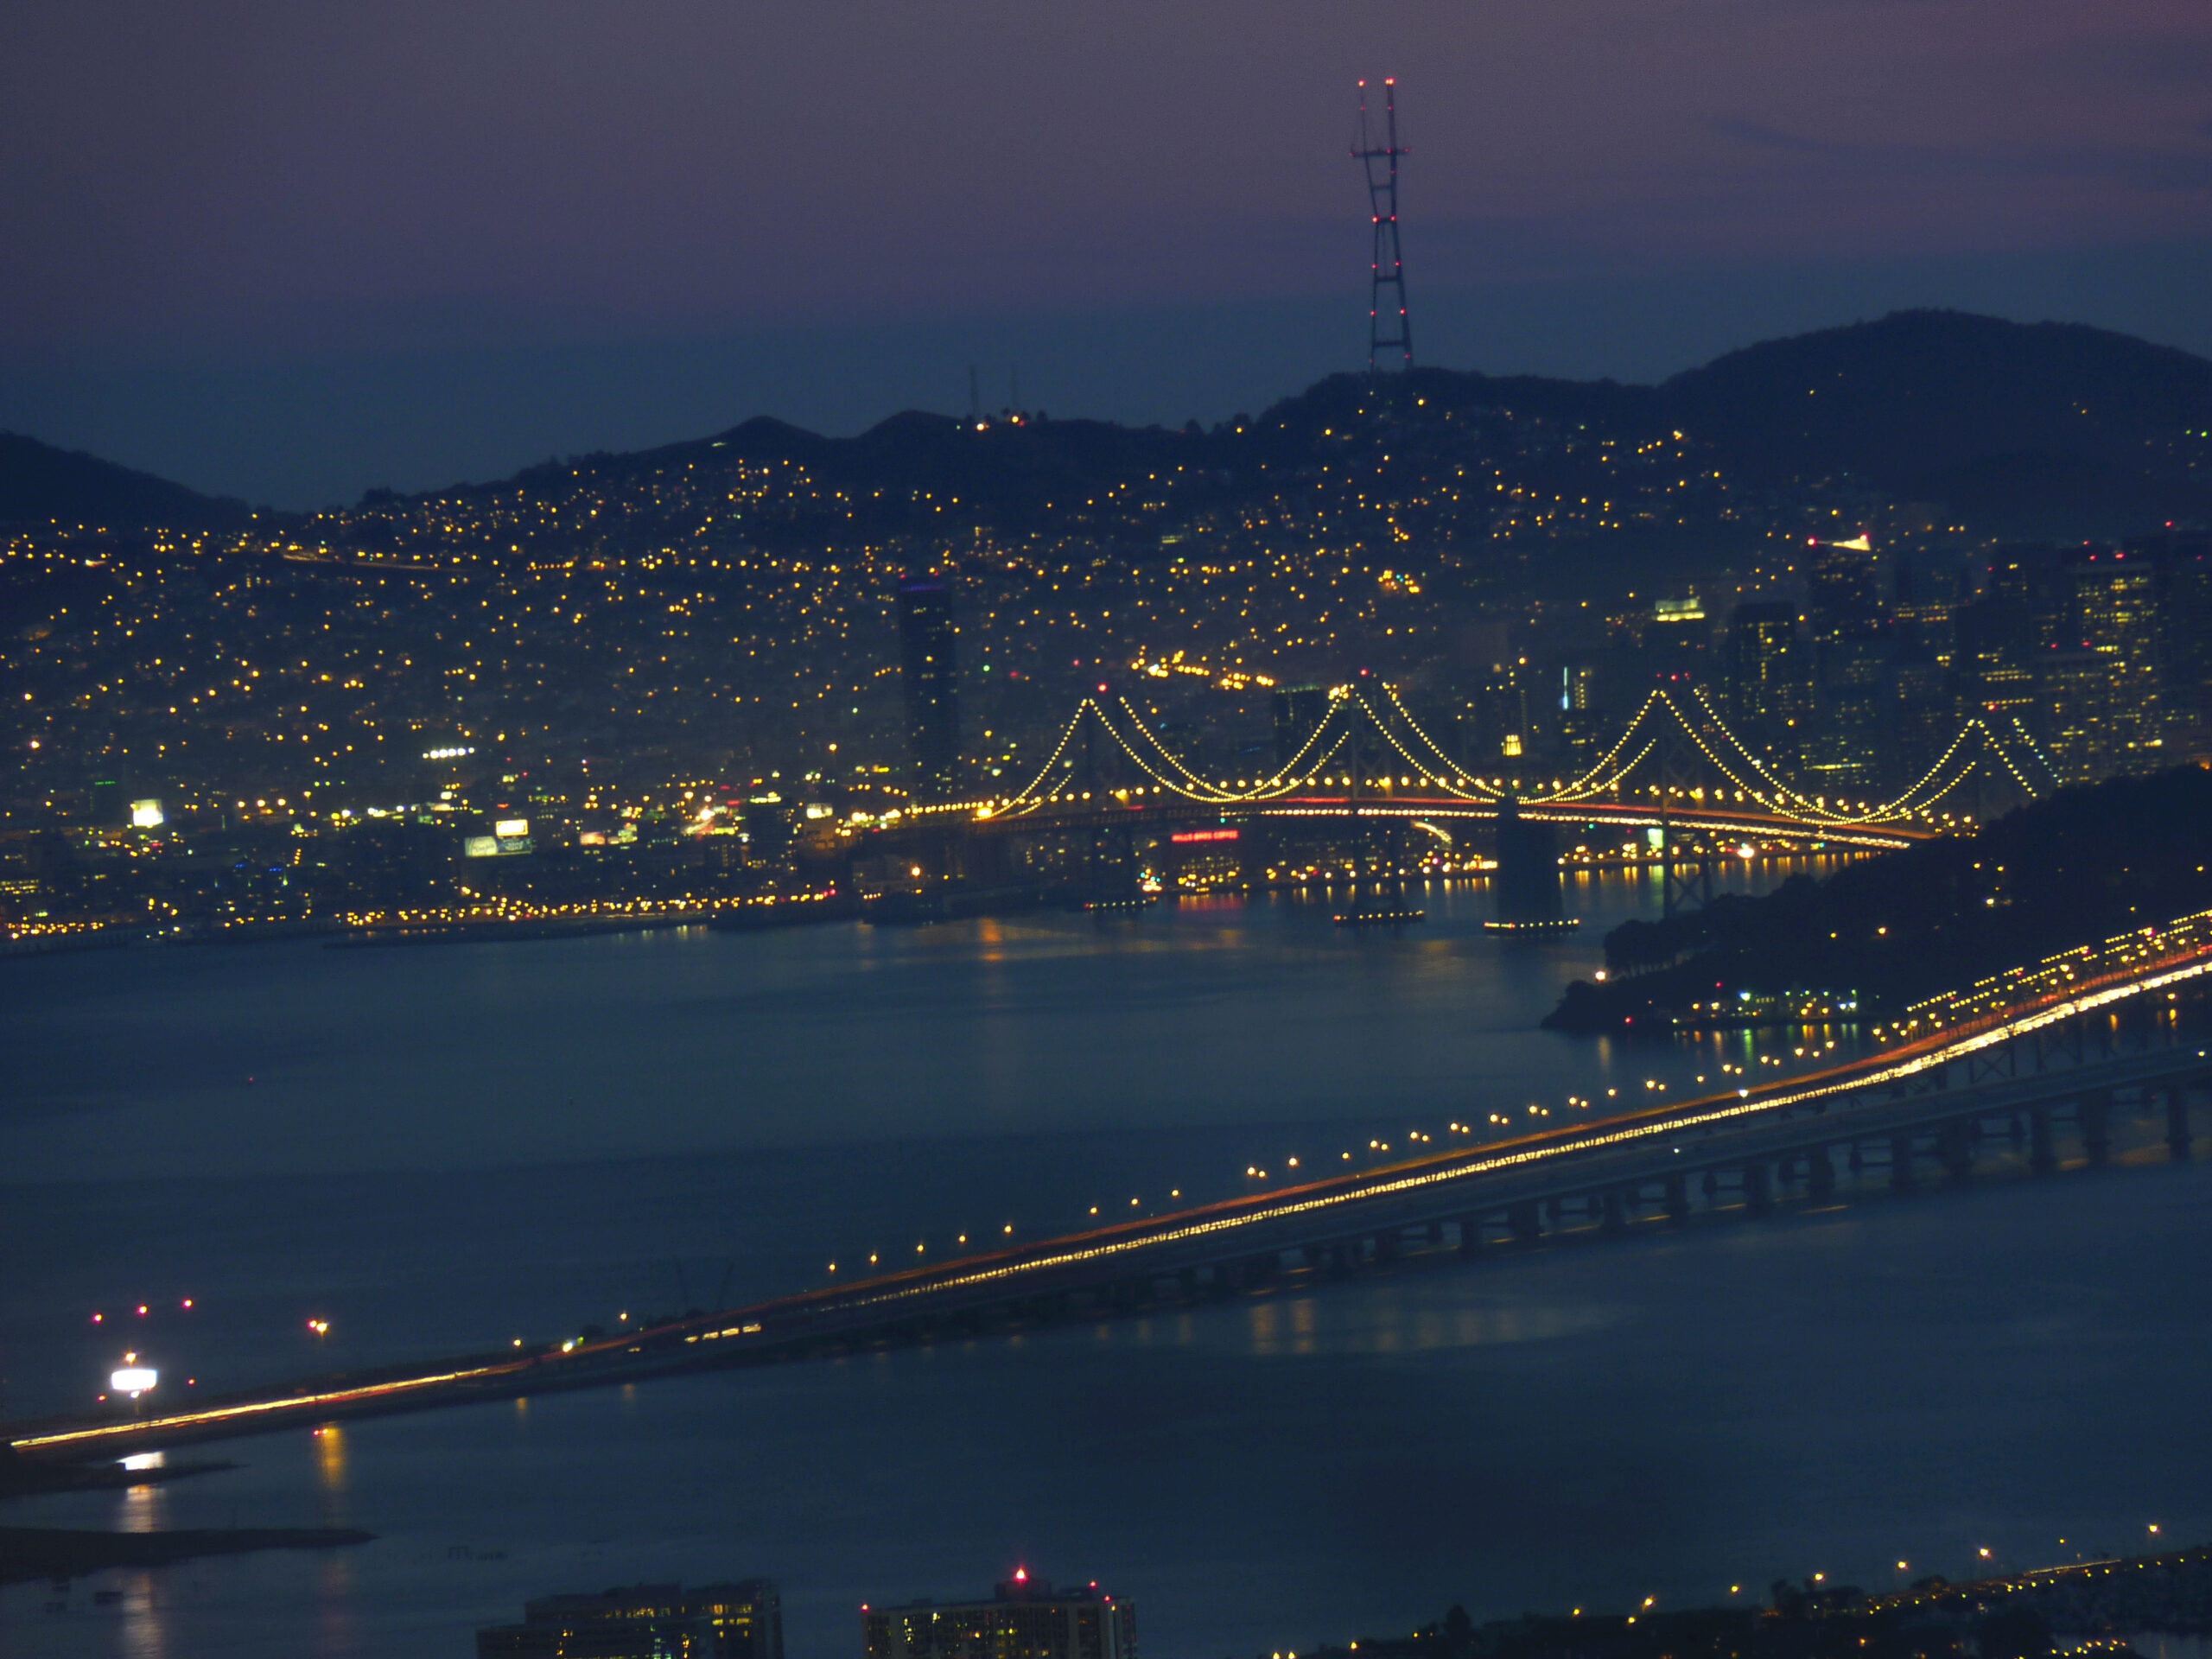
    Research and plan your shooting locations in advance. Scout potential spots during different times of the day to find the most favorable lighting conditions and angles. Golden hour, just after sunrise or before sunset, offers warm, flattering light that can add depth and dimension to your cityscapes. Alternatively, consider shooting at night when the city’s lights create a mesmerizing ambiance.

    2. Use a Tripod

    Cityscapes often require long exposures, especially in low-light conditions or when using smaller apertures for greater depth of field. A sturdy tripod is crucial for keeping your camera steady and preventing blurry shots. It also allows you to experiment with longer shutter speeds to capture light trails from moving vehicles or to smooth out water surfaces.

    3. Play with Perspective

    Experiment with different perspectives and angles to create unique and compelling compositions. Try shooting from a high vantage point to capture a bird’s-eye view of the cityscape, or get down low for a dramatic, ground-level perspective that emphasizes the towering structures. Look for interesting leading lines, such as roads, bridges, or architectural elements, to guide the viewer’s eye through the frame.

    4. Incorporate Foreground Elements

    While cityscapes often focus on the skyline, incorporating interesting foreground elements can add depth and visual interest to your shots. Look for reflective surfaces, like puddles or glass facades, that can mirror the cityscape and create intriguing abstract compositions. Strategically placing people or objects in the foreground can also provide a sense of scale and context.

    5. Bracketing and HDR

    The dynamic range of urban scenes can be challenging to capture, with bright highlights and deep shadows. Consider using bracketing to take multiple exposures at different shutter speeds or apertures, which can later be blended into a high dynamic range (HDR) image. This technique can help preserve detail in both the highlights and shadows, resulting in a more balanced and detailed cityscape.

    6. Experiment with Long Exposures

    Long exposures can transform ordinary cityscapes into mesmerizing, abstract compositions. By keeping the shutter open for an extended period, you can blur the movement of clouds, vehicles, or pedestrians, creating a sense of motion and energy. Use a neutral density filter to allow longer exposures during bright daylight conditions.

    7. Embrace the Weather

    While clear skies can be desirable, don’t overlook the dramatic potential of inclement weather. Clouds can add depth and drama to your cityscapes, while fog or mist can create a moody, atmospheric look. Rain can also provide unique opportunities, with reflections on wet surfaces and the interplay of city lights and water droplets.

    Remember, cityscape photography is not just about capturing the grandeur of urban environments; it’s also about conveying a sense of emotion, energy, and storytelling. Experiment with different techniques, be patient, and most importantly, have fun exploring the endless possibilities of capturing the essence of the city.

  • Capturing Stunning Sunsets: DSLR Photography Tips

    Capturing Stunning Sunsets: DSLR Photography Tips

    There’s something magical about a vibrant sunset that makes it an irresistible subject for photographers. The warm hues painting the sky create a dazzling scene that can produce breathtaking images – if you know the right techniques. With a DSLR camera in hand, you have plenty of controls to get creative with sunset photography. Here are some tips to help you take your sunset shots to the next level.

    1. Pay Attention to Timing

    The sweet spot for most dramatic sunsets is usually the first 15-20 minutes after the sun dips below the horizon. Plan to arrive at your location with plenty of time to set up and compose your shot before the colors begin to pop.

    2. Scout the Location

    Do a little location scouting ahead of time to find a spot with an interesting foreground element like a silhouetted tree, rocks, a pier, or architectural detail. These foreground subjects help add depth and visual interest to the overall composition.

    3. Choose the Right Exposure Settings

    Expose for the highlights in the sky by spot metering on the brightest part of the scene. You may need to underexpose by 1-2 stops to preserve detail in the vibrant colors. Choose an aperture of f/11 or higher to keep the whole scene in focus.

    4. Use a Tripod

    As light levels drop during the sunset, you’ll need to use longer shutter speeds which increase camera shake risk. Mount your DSLR on a sturdy tripod to prevent blur from camera movement.

    5. Capture the Sequence

    Take a sequence of shots instead of just one to capture the full evolution of colors throughout the sunset. The dramatic reds and oranges often give way to vibrant pinks, purples, and blues that are equally photo-worthy.

    6. Shoot in RAW

    Shooting in your camera’s RAW file format gives you far more flexibility to adjust things like white balance, exposure, and colors in post-processing. RAW images have more data than JPEGs.

    7. Use a Polarizing Filter

    A circular polarizing filter can deepen the blue hues of the sky and cut through haze to make colors richer and more saturated. Experiment by rotating the filter as you shoot.

    8. Mind the Horizon Line

    For sunsets, it’s typically more compelling to position the horizon line on the upper or lower third of the composition rather than directly across the middle. This follows the classic “rule of thirds” for more visually-appealing framing.

    With some planning, creativity, and technical know-how, you can capture the magic of the “golden hour” and take some absolutely jaw-dropping sunset photos. So grab your DSLR and get ready to experience nature’s nightly colorful performance!